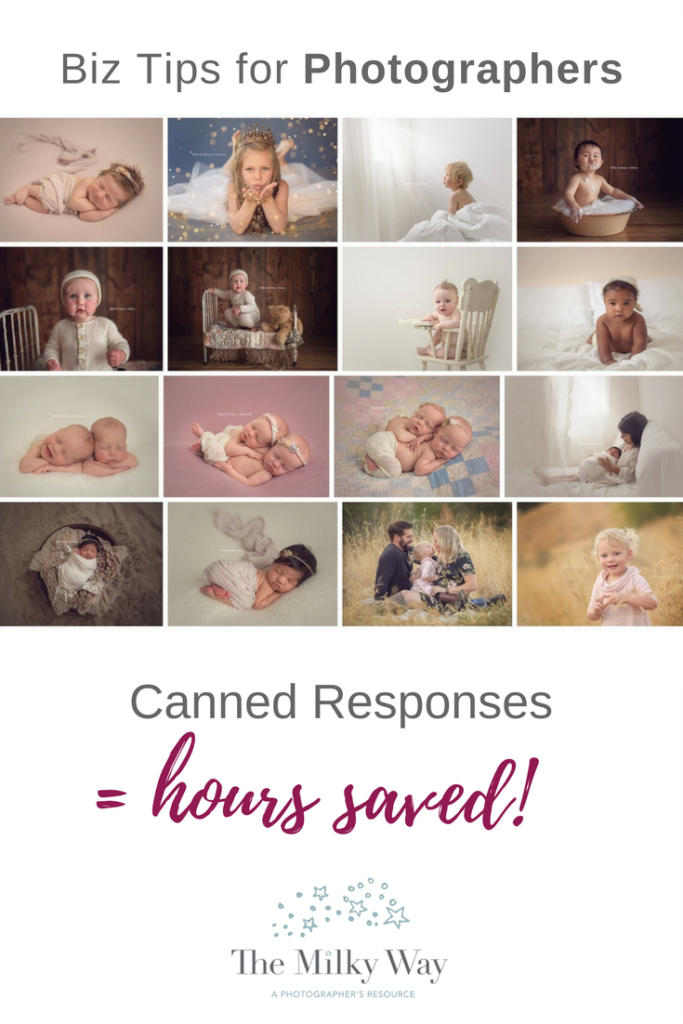
by Mel MacManiman
THE PROBLEM
How many hours each week do you spend writing and responding to emails? Are you typing out each individual message, or did you know there was an easier way? When I started booking clients regularly I realized that I was spending a substantial amount of time writing out the same email, but only changing a few words.
Some people may have found a (slightly) better workaround by using a Word document or similar text editor to write out email templates to copy/paste into the email as needed. Although this does work, having to juggle multiple windows and use your mouse to select the text introduces more opportunities for error. Luckily, there is a much cleaner and more efficient solution…
Welcome to Canned Responses!
WHAT ARE CANNED RESPONSES?
A canned response is just a fancy way to say “pre-written email”. That’s all it is, really! While there are many tricks to cutting down on your email workload, canned responses are a favorite of mine. If you haven’t used them before, don’t be intimidated! In 10-15 minutes of playing around you’ll be up and running.
If you find yourself constantly typing the same emails over and over again then creating canned responses will be a huge time saver once incorporated into your workflow. You can even add saved hyperlinks to these messages to direct people to web pages like your pricing or contract.
Examples of just a *few* canned responses for a newborn and family photographer:(I have nearly 30 regularly used templates saved)
- Pricing inquiry
- Follow-up to inquiry
- Local photographer referral list
- Thanks for booking – contract link, further session info
- Baby born – next steps
- Family session prep link
- Sneak peek link – day of session
- Your gallery is ready!
ENABLING CANNED RESPONSES IN GMAIL
- From your inbox, click the gear-shaped “Settings” button in the top right corner
- Click “Settings”
- At the top of the page on the far right, open the “Labs” tab
- Scroll down and find the title “Canned Responses”
- Click “Enable”
- Scroll to the bottom of the page and click “Save Changes”
- Go back to your inbox and click “Compose” to open a new email.
- In the bottom, right corner of the message window (near the trash symbol) you’ll see an arrow button. Click the arrow and then click “Canned Responses”. You can either create a new canned response or select one that you’ve previously created from there.
- If you’re not seeing “Canned Responses” be sure that you saved all changes in your settings.
SOME TIPS FROM THE PROS
- When you create your canned responses, be sure to give them really basic titles and if you end up needing to change them over time I recommend editing the original instead of creating a new canned response. You don’t want a cluttered mess of canned responses to choose from but instead the most up-to-date ones!
- Leave open spaces like “___” when creating your templates so you can visually see areas to fill each time you send a canned response. These spaces will be for specific details or personalizing your message.
- Double and then triple check for typos before saving!
- If you’re noticing a trend of common questions you are asked, it may be wise to start thinking about ways you can answer them before potential clients even reach out! A little more insight about your packages and pricing on your website can make a big difference!