Behind the Scenes – Bed in studio!
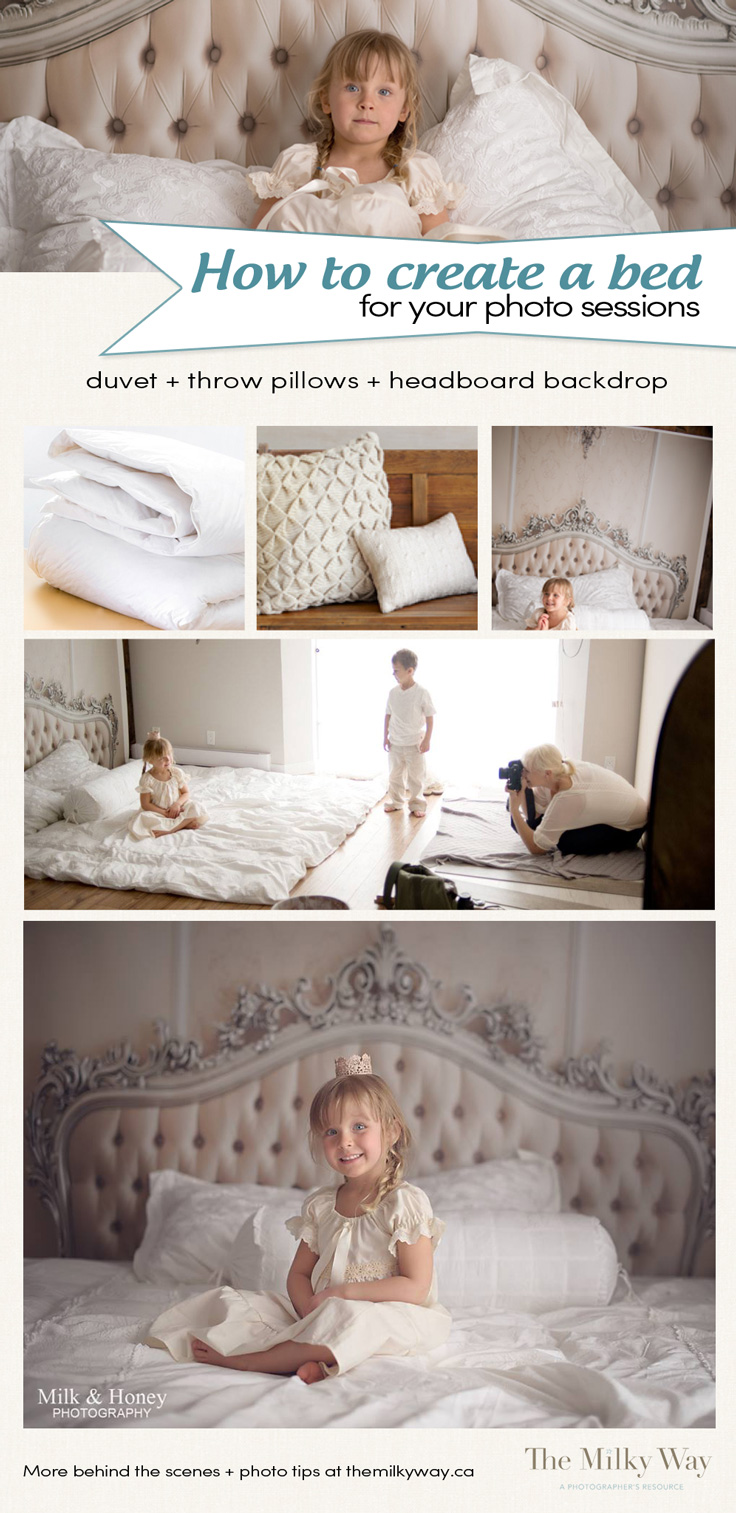
One of our most popular posts was the ‘a bed is not always a bed’ – where we show you a simple way to add a bed to your studio set up using a duvet, some pillows – and in this case, a backdrop that looks like a headboard!
Here’s another ‘behind the scenes’ that you can pin to your inspiration boards for easy reference!
I tend to stick to neutral colours, but you can mix n’ match your throw pillows and duvet colours for a variety of looks!
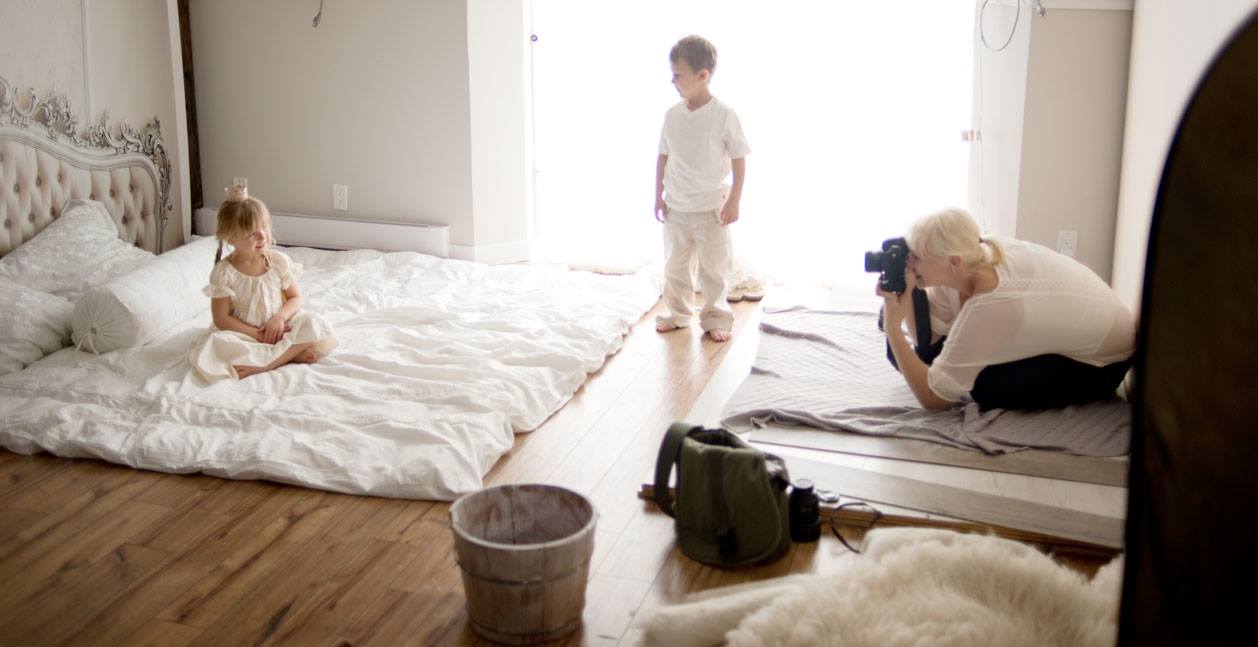
You can see the duvet is directly on the floor, so there is no worry about a child/baby/toddler falling any distance. I have my subject a coupe feet from the background so I can get nice bokeh on the backdrop.
Settings with my Nikon D3s and 50mm 1.4 lens are: f2.0, SS 1/320 , ISO200 (using natural light)
Backdrop is from Photo Prop floors & Backdrops
(the one shows here is the Vintage Headboard Vintage Headboard (Horizontal Design), Vinyl 61″ x 7′)
19 Comments
Leave a Comment
related
Posts
I'm
Lisa DiGeso
I’m on a mission to create uplifting online experiences for photographers ready to elevate their art, their business and their mindset.(...and have fun along the way!)



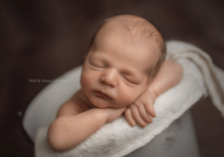
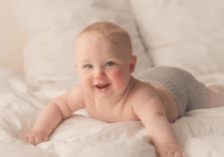
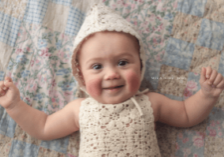




Lovely!
Can you tell me what size backdrop you purchased for the above pictures? I find the size options on the Photo Props Floors web site very confusing. Thank you!
PS… The pictures are beautiful!!
It was the 7′ vinyl option 🙂
Read the article above towards the end it tells you where she got it and size
Well this simplifies things! Great idea, thanks!
Brilliant Lisa! Love this idea 🙂
Hi Lisa. I’m just wondering if you advertise this style of photo shoot as a mini shoot to clients or do you just bring out this backdrop in a kids/family shoot? I have this back drop and I’m stuck for ideas on how to market it to my clients.
Hi Tara, so glad you like the backdrop. I use it as part of a full-length session with a child/toddler. You might consider putting some shots with this background on your website or Facebook page so prospects and clients can get an idea of what your work looks like. Best of luck to you!
This is a brilliant idea thank you for sharing. The simplest of idea with such beautiful outcome. Will be trying this very soon I love it.
It’s so ironic I found this link on Pinterest over the weekend…I bought this backdrop last week and it arrived on Saturday! I’m just an amateur photographer, playing for fun and for the longest time I’ve been seeing pictures online thinking, “dang, where’d they get that bed?!” or “wow, it must be nice to find aged, paint-peeling walls like that!” – Ha! When I stumbled across a video on YouTube of a photographer “rolling up” his hardwood flooring, I nearly hit the floor!
Then, literally an hour later, a friend IM’ed me a Groupon-type link of photography backdrops and there was the headboard. “SHUT. UP.” was my thought. How could I have been into photography this long and not know about these backdrops?! Immediate purchase.
I’m so glad you posted this tutorial of the things you use with this backdrop as well as your camera settings. I’m still learning how to get a decent shot indoors. 🙂
[…] How to Create a Bed for Photography Sessions […]
I have this backdrop and I love it! It’s great for so many things.
Great idea, thanks! 🙂
Wow great idea. The pictures are beautiful!
I just ordered a Christmas headboard one. I have a backdrop stand and have never used this type of backdrop design. Did you use a stand or tape the drop to the wall? My concern is with the stand when placing the pillows close to the headboard it will move the backdrop due to the gap between the stand and the wall.
no one has answered where the backdrop is from or the size of the backdrop??
Hi there! We used the 7’Vinyl option and placed a link in the blog. Have fun! 🙂
I am an amateur photographer and got this backdrop. I dressed it up for christmas photos with small children mostly and the shots are great. Indoor lighting is always a challenge. If you only one large window for light to come in .. and it is on the side of your set up, do you set up a soft box on the other side to balance lighting??? still learning
Hi Jane,
If you are mixing natural light with studio light, you’ll just want to be sure they are the same colour temperature (if it’s ~5500K, you can usually do that) – the other option is to use the softbox to just bounce the natural light- or a reflector if you have!