Few things strike fear into the hearts of beginner photographers as much as the mention of “studio lighting”.
Let’s be honest, shall we? Our to-do list when deciding to get into newborn photography usually looks like this…
- Buy props. (it’s usually #1 on the list!)
- Buy a beanbag.
- Buy a new lens.
- Learn how to make baby sleep.
- Learn wrapping.
- Buy more props. (!!)
- Learn posing.
- Learn angles.
- Maybe just a few more headbands…
And then … maybe … at the very bottom of the list …
“Learn studio lighting”

Hands up, how many of you avoid that last item on your list, and rather cycle through the other items on your list one more time?
The crowd of you with hands in the air … I feel you. Because it sure is easier (and a whole lot more fun) to shop for baby bonnets than to figure out the difference between continuous and strobe lighting.
Can I let you in on a secret? It’s not half as complicated as it looks and sounds. So allow me to provide a gentle, non-intimidating introduction to studio lighting for newborns, so you can finally check off that last item on your to-do list
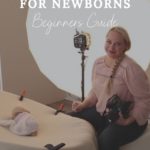
Why studio lighting?
Let me say firstly that there is nothing wrong with just using natural light.
You can make gorgeous newborn portraits using just a large window that lets in lots of light.
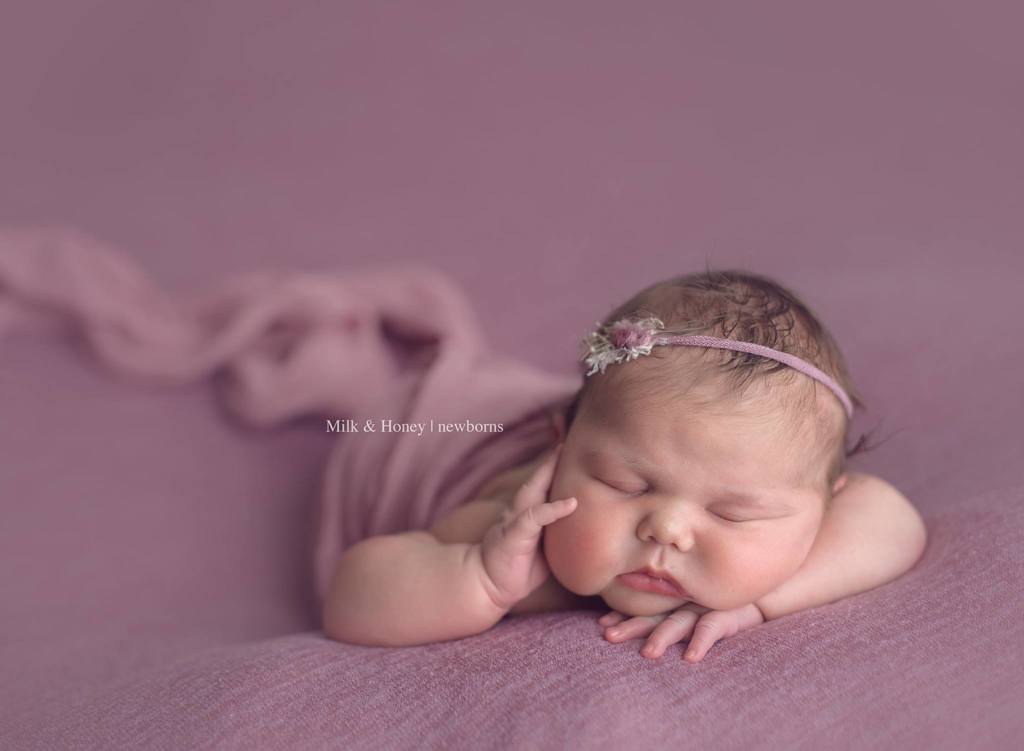
In fact … nothing beats the look of natural light for newborn photographs. So much so that our entire aim with studio lighting is not to create a new look, but rather to use studio lighting to look as close as possible to natural light!
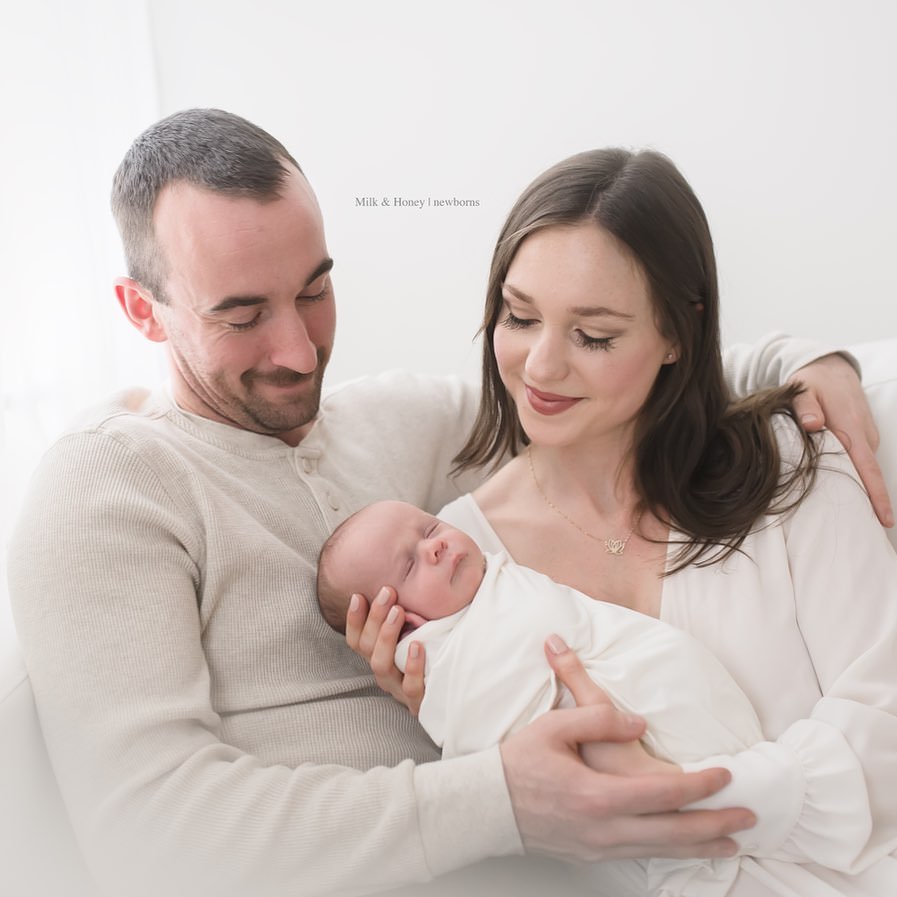
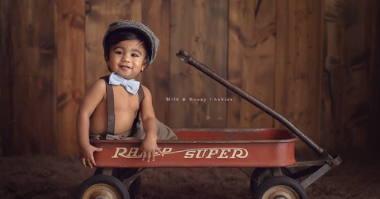
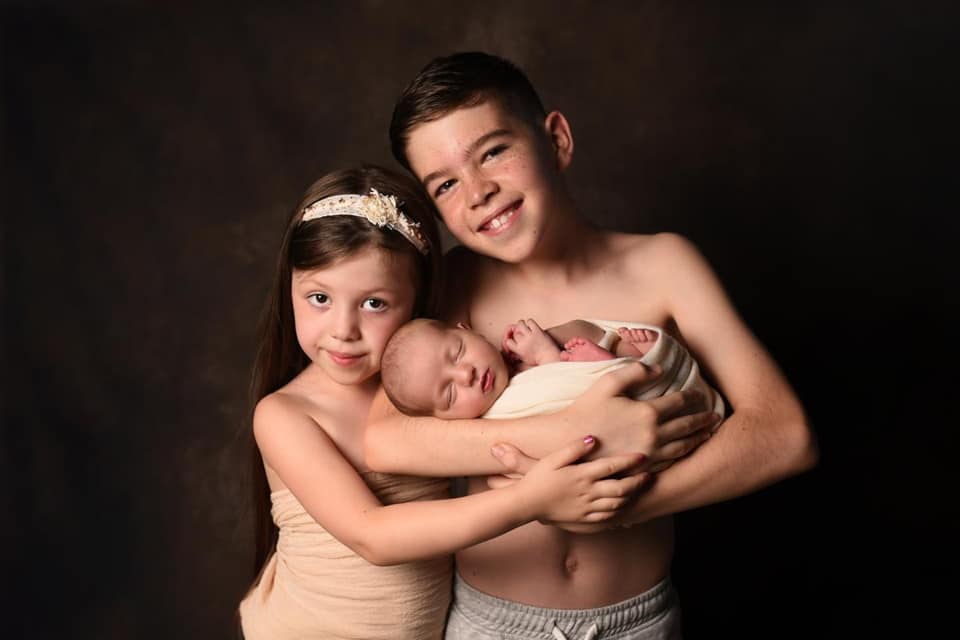
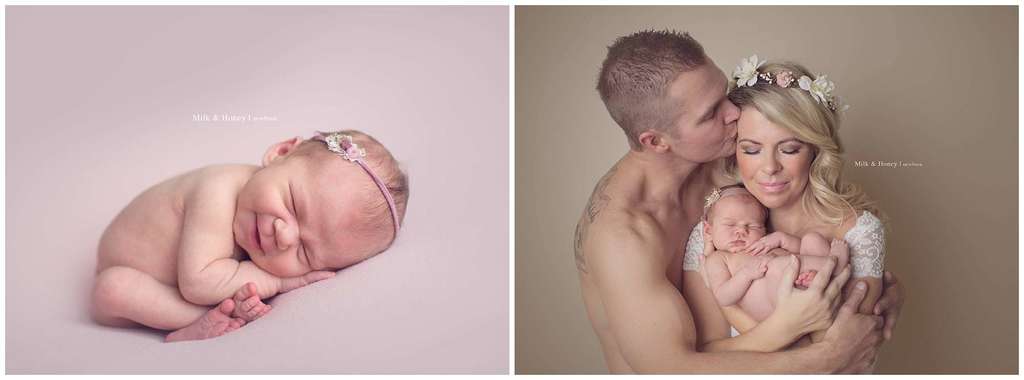
In fact, can you tell which of these images uses studio light vs natural light?
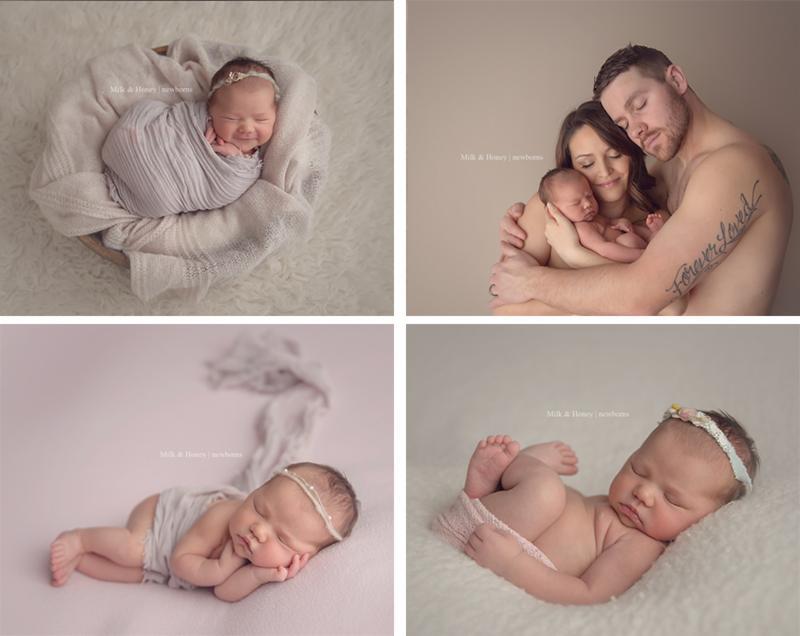
(I’ll share the answer at the end!)
So if natural light is so great, why are you even reading this post?
The problem with natural light is that it doesn’t stay the same – not from one session to the next, and not even from the first hour to the last hour of your session.
Some days are bright and sunny, while others are dark and gloomy. (If you live in the Pacific Northwest like I do, count on days to be grey for months on end).
When you create a gallery of images for a client, you want to make sure that the lighting setup is consistent throughout the gallery.
And when you look at your portfolio, you want the same look for all of your work, because clients trust you to create the same images for their newborns as you have displayed on your website.
The advantage of studio lights over natural light is that it provides the look of gorgeous, natural light, but in a predictable and consistent way that is fully controlled by the photographer.
(and editing is so, so much faster!)
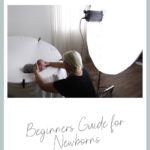
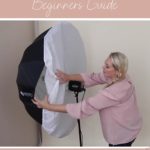
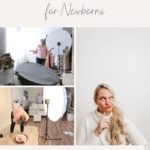
Which equipment do you need?
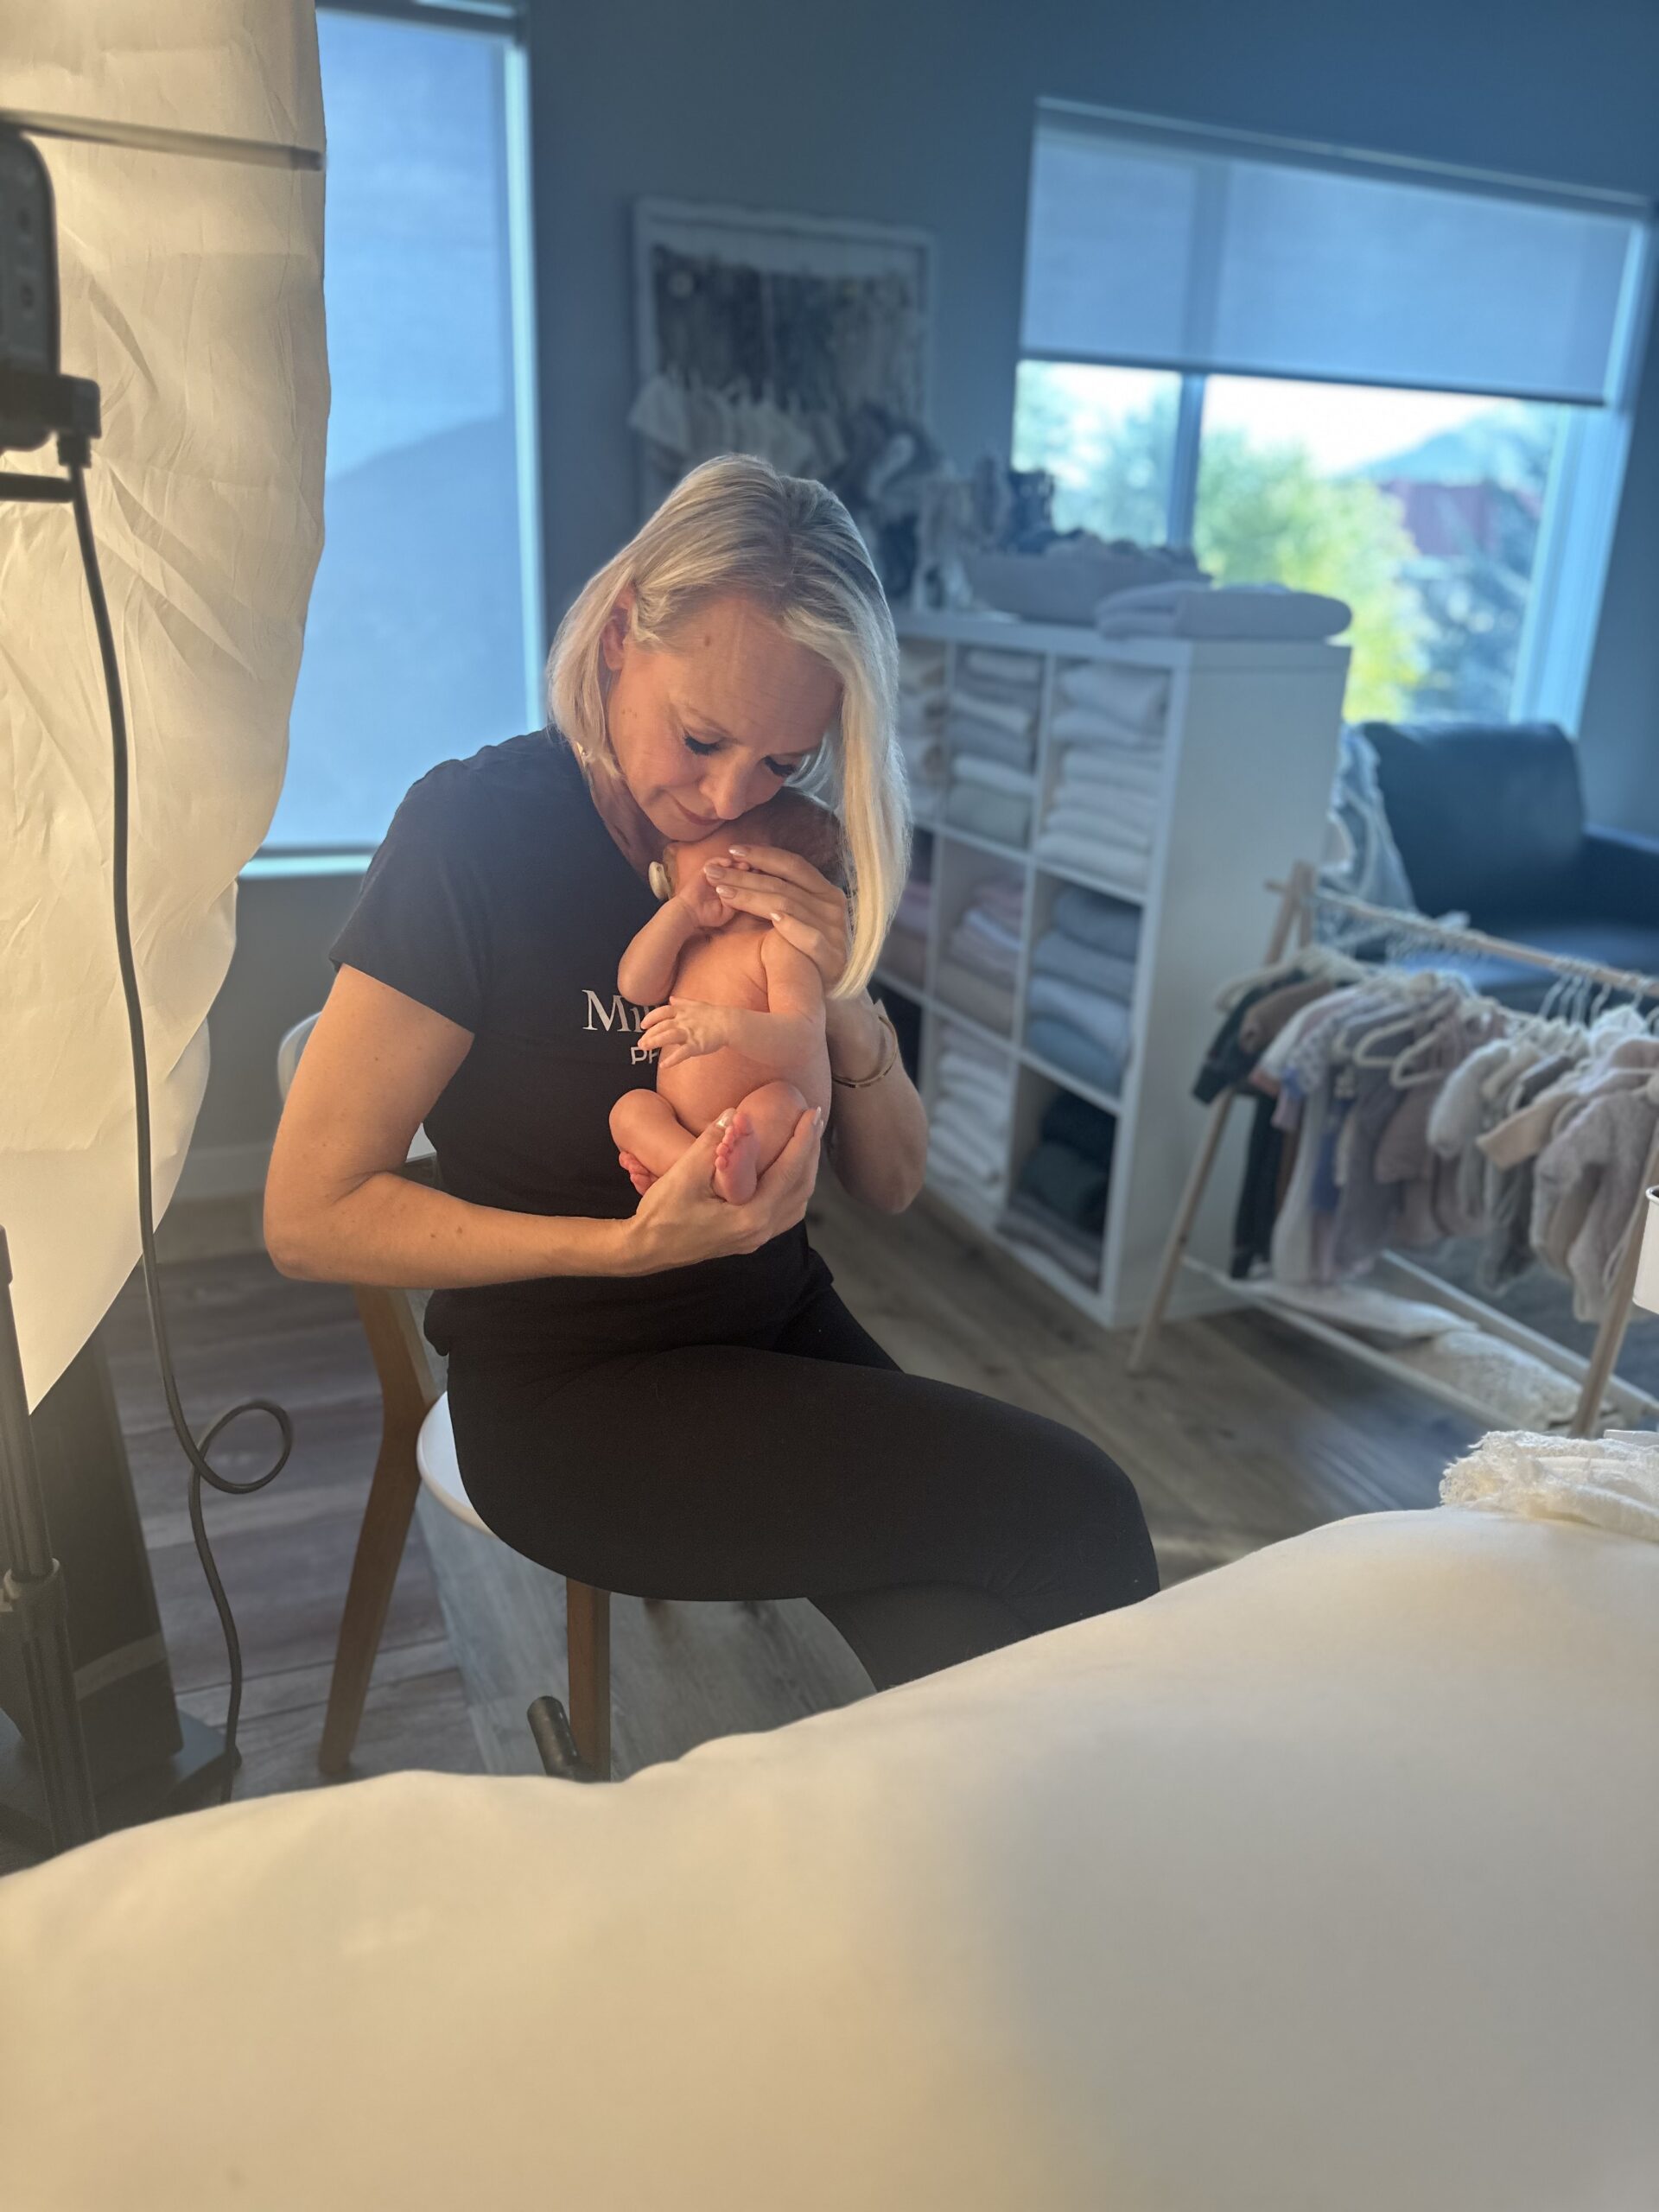
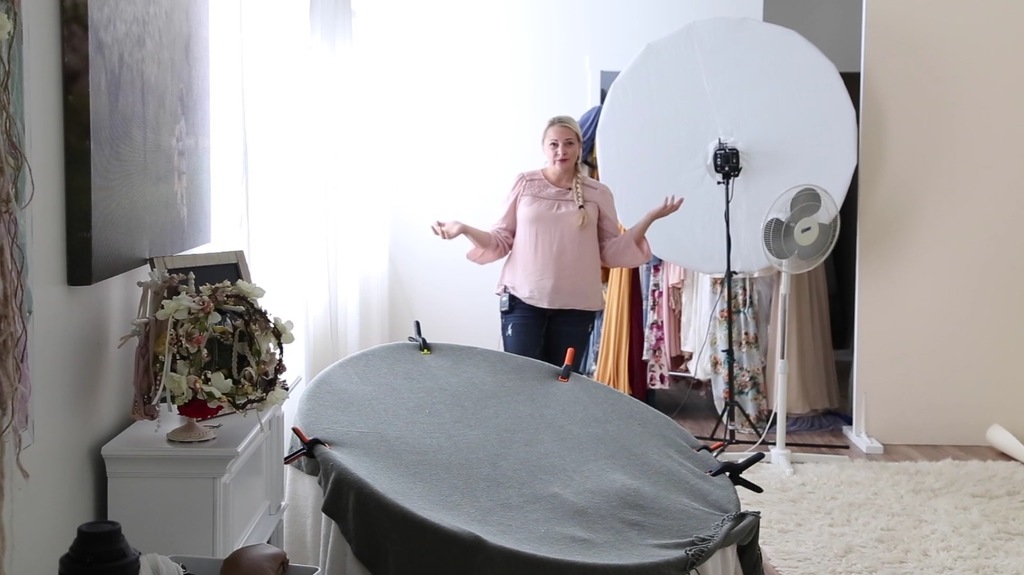
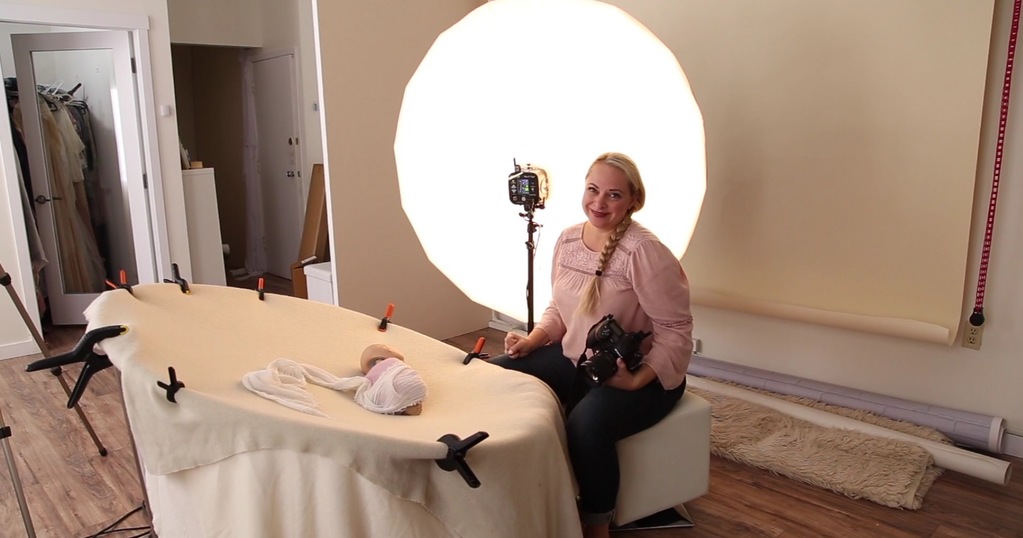
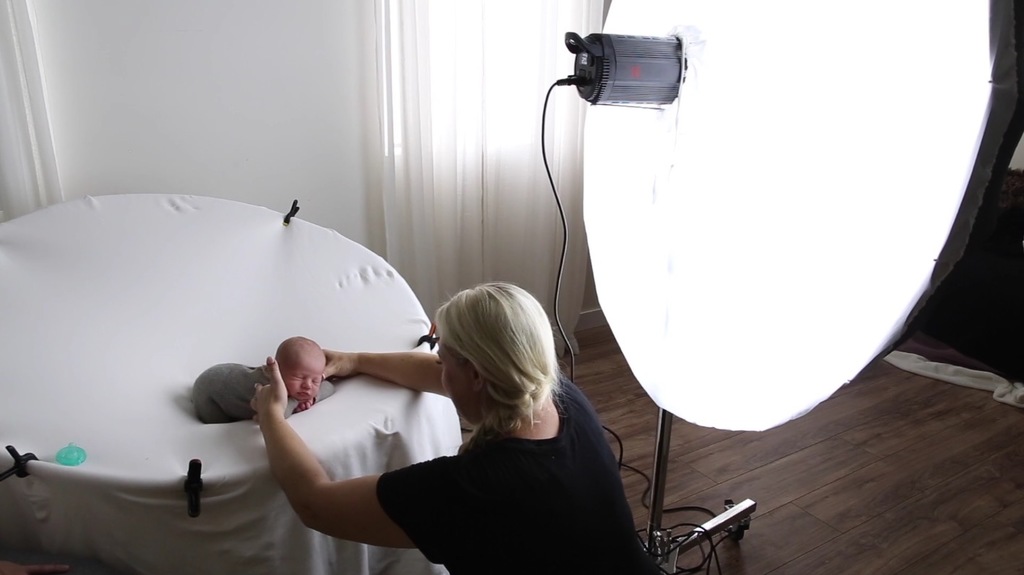
While you may have seen photography studios with multiple light sources, a bunch of umbrellas pointing in all directions, and wires everywhere, studio lighting for newborns doesn’t need all of that.
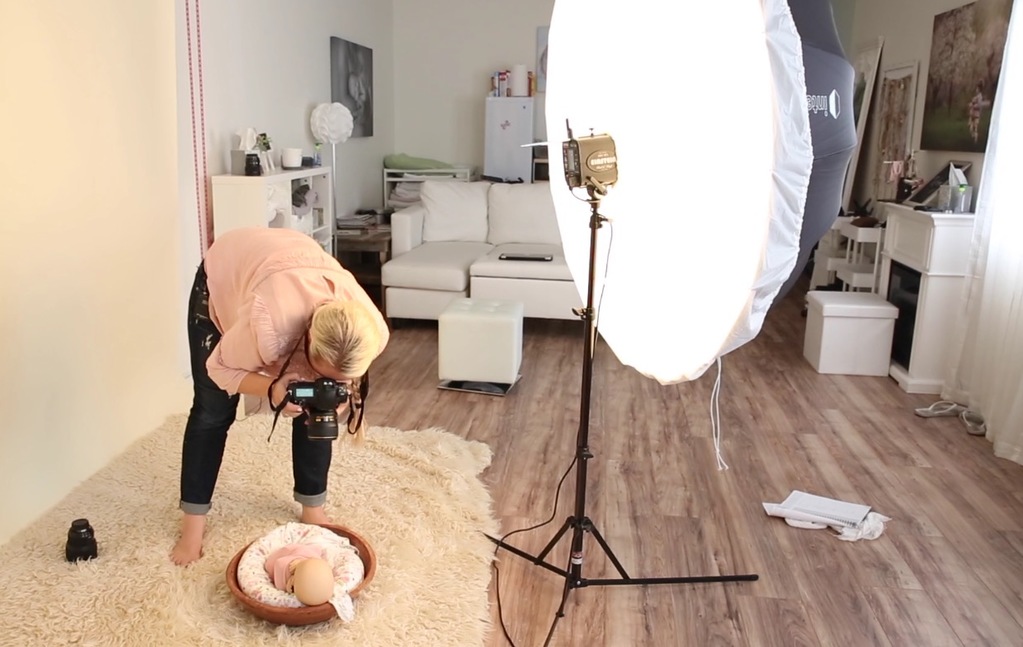
You just need a single-light setup for your newborn studio. Good news, right?
Very simply: You need a light, something to mount the light onto, something to soften and spread the light more equally, and, in some instances, something that will make the light flash every time you press the shutter.
Lights
For newborn photographers, the challenge is not finding the strongest light, but rather one that can adjust low enough to not overpower your little subjects when you want to shoot wide open.
So I would advise staying away from the cheap light setups you find on Amazon – while they are adequate for general studio portraits, they are usually too powerful for newborn photography.
The first decision you will have to make when delving into studio lighting: will you use continuous lights or strobe lights?
It can be confusing trying to figure out which to get, so I’ve made my specific recommendations in our Studio Lighting Gear Guide.
Continuous lights
Continuous lights are studio lights that stay on all the time. What you see is what you get, so you can move the light around until you see it fall on your subject exactly the way you want. You also do not need any further equipment (triggers and receivers) to make it work. These characteristics make it an easy-to-use option for beginners.
However, many of the lower-priced continuous lights are not as powerful as their strobe counterparts, and so when you have to shoot at a higher f-stop (like for families), or have to shoot with a faster shutter speed (like for fast-moving toddlers), you may not have enough light without having to increase your ISO to an unacceptably high level. But for newborns, who are not moving and are usually shot at wider apertures, a continuous light is perfect.
Strobe lights
Strobe lights are studio lights that are synced to your camera (via triggers and receivers) and produce a flash when you press your shutter. Because you are freezing motion, you will never have an issue getting sharp images, even when you are photographing a larger group, or when you have subjects in motion. This feature makes strobe lights the standard for studio photographers in general.
It does mean that you have no idea what your photo will look like until after you’ve taken the shot. The built-in modeling light is mostly there to enable your camera to find focus before the shutter is pressed and show you where the light will fall, but it doesn’t always give an accurate representation of what the image will look like.
There is a learning curve in discovering the best combination of light power, modifier type, and lighting angle to produce the results you want. And you will need the extra equipment to enable the strobe and your camera to work together. But once you have mastered using strobe lighting, your lighting options are endless, and you can make extremely specific tweaks to it, giving you precise control over lighting patterns that continuous lights never can.
So which one should I choose?
There is no right answer. There is only one right answer for YOU. So it really depends on your shooting style, which subjects you want to shoot (now and in the future), and of course, your budget.
If you only shoot newborns at wide open apertures, then continuous is a great option. It is also the more budget-friendly of the two options. But if you will expand to include families and toddlers, and require more precise control over your light, then a strobe will be more versatile.
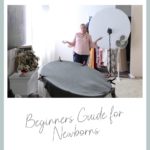
Light Stands
The light stand is a relatively simple piece of equipment – there are not a ton of bells and whistles needed – the most important consideration is simply that it is sturdy enough to carry the weight of both your light and modifier.
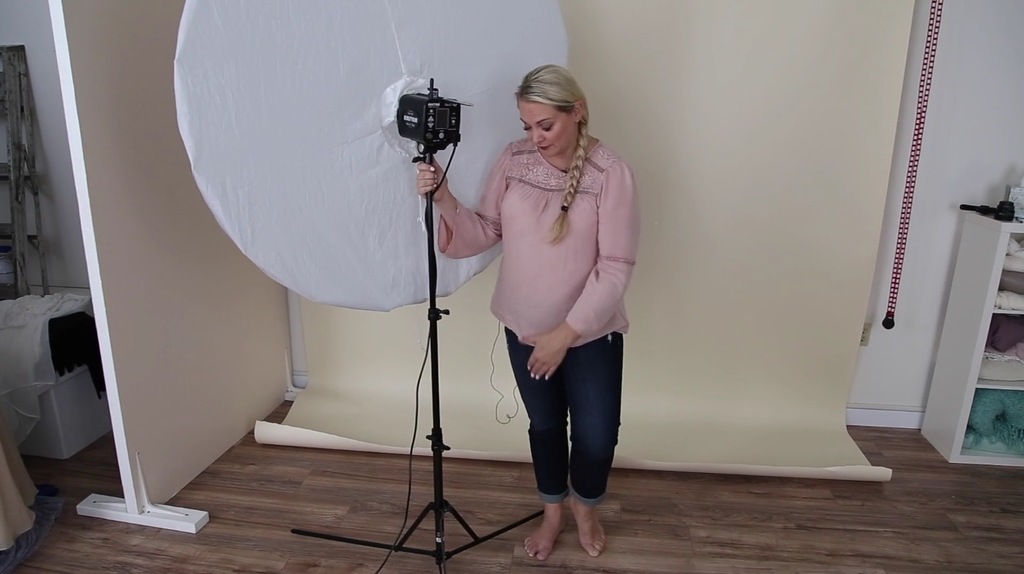
For newborn photography, where your subjects are often close to the floor in props, it is handy to have a lightstand that can hold your light and modifier as low to the ground as possible.
As always, safety is paramount, so be sure to anchor your light stand by placing sandbags, or weights, or any other heavy object, over the legs of the light stand to counter-balance the weight of the modifier
Modifiers
If you were to simply point your studio light at your subject and shoot, it would technically work, but the light will be harsh, the resulting shadows will be harsh, and the result will not resemble the look of soft natural light that we are striving for.
To achieve that softer look we want to modify the light, hence the overall term “modifier”.
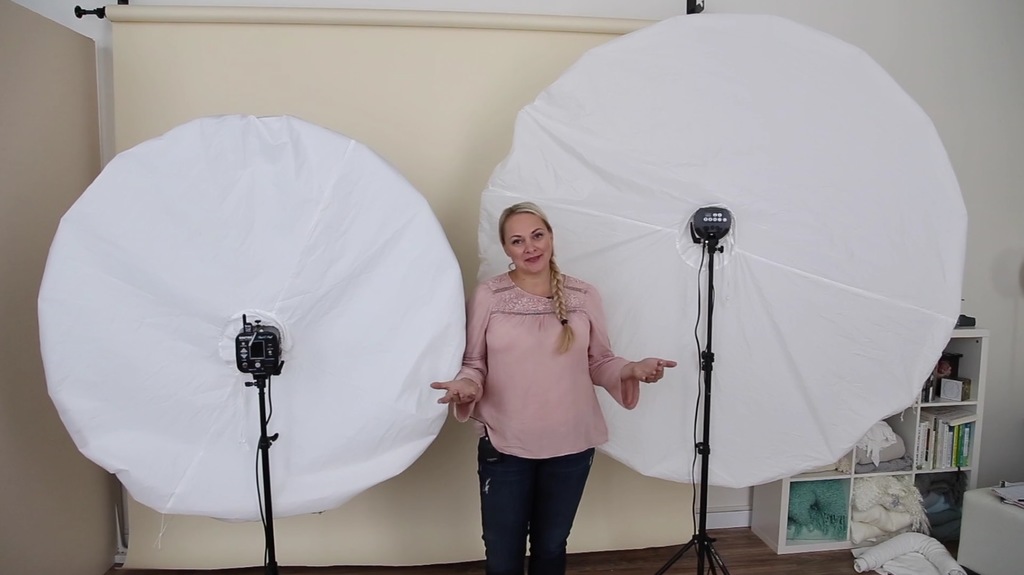
The most commonly used modifiers are parabolic umbrellas (or parabolic light modifiers/PLM) and softboxes.
They both do the same job: they take the harsh, directional light from the light source, and diffuse it, which means the light is spread out and softened. It works much like a sheer curtain does when hung in front of a window with direct sunlight. Or think of the nice even light on a cloudy day as opposed to direct sunlight – the clouds are nature’s diffuser!
The idea is to have a large amount of soft light that wraps around your newborn subject, rather than an intense beam of harsh light.
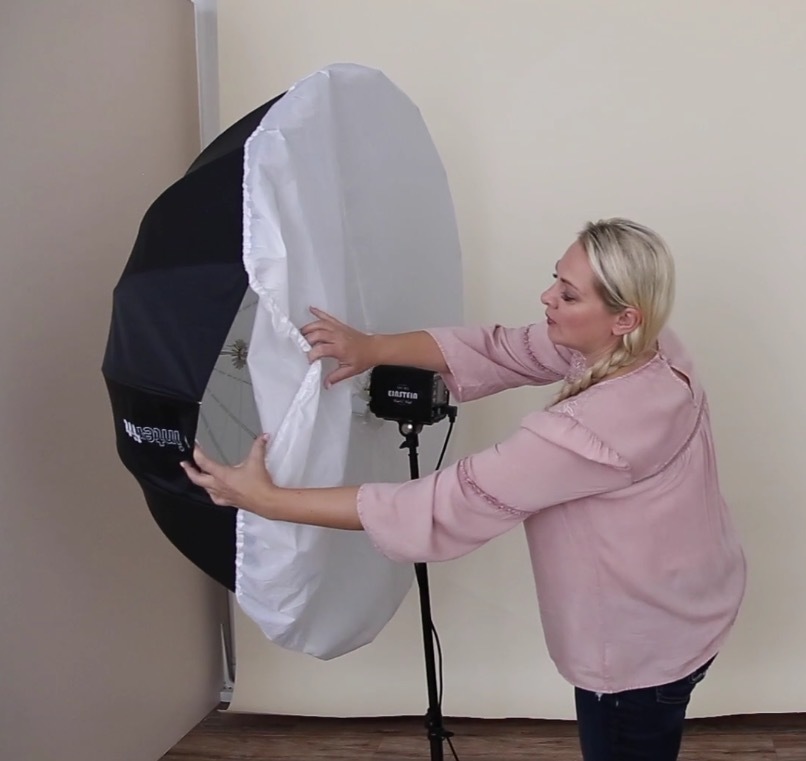
You can choose to either “shoot through” the modifier or “bounce off” the modifier.
For shoot-through, your light is aimed at the subject, but diffused by whatever material the umbrella or softbox is made of. So even though the light is softer, it will spill into more directions. That is great if you like your subjects more evenly lit (not a lot of directional shadows).
When you bounce off the modifier, your light is pointed away from the subject, towards the back of the modifier, which is usually covered in black to avoid the light spilling out. The light then bounces back towards the subject. By the time it reaches the subject, it is beautifully soft, but still directional enough to create definition through soft shadows.
When choosing between a softbox or parabolic umbrella, consider that an umbrella will produce round catchlights, while most softboxes are square or rectangular, and will produce the same shaped catchlights.
Modifiers come in various sizes, and the bigger they are, the more the light will be diffused, and the softer it will wrap around your subject. However, for the large modifiers, you need to make sure your studio space is sufficient, especially the ceiling height. If you will be shooting parents using this modifier, it will have to be lifted so the light is above the head of the tallest parent.
Triggers & Receivers
If you have chosen a continuous light, you can totally skip over this option – you don’t need triggers and receivers.
If you have chosen a strobe as your lighting source, you will have to find a way for your camera to trigger the flashing of your strobe every time the shutter is pressed.
The no-cost option is to use the sync cord that will come with most strobes, which physically connects the strobe to your camera with a cable. However, with you moving around all the time while holding your camera, a cable attached to your camera creates a trip hazard and is just plain unwieldy, so this option is not recommended (although you can use it in a pinch for sure!)
A better option is to use a wireless trigger and receiver. The trigger transmitter is what attaches to your camera to “talk” to the lights. The receiver is attached to the lights so it can “hear” the trigger on your camera.
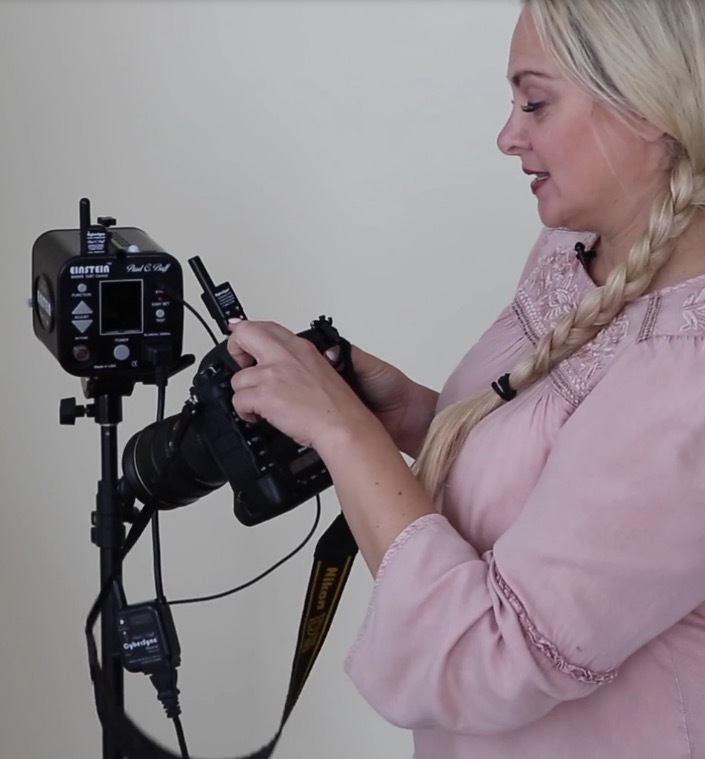
Which triggers and receivers you need to get entirely depends on the light source that you’ve chosen. Just watch out, some of the strobes have a built-in receiver – so in those cases, you just need the accompanying trigger.
It can be confusing trying to figure out which to get, so I’ve made my specific recommendations in our Studio Lighting Gear Guide.
I’ve got all the gear, now what?
So your gear arrives, all shiny and new. But now, you’re faced with your next test … learning how to use all of this new equipment.
Sure, it can be overwhelming. I know photographers with brand new lights and softboxes still sitting in the box after 5 years.
Start by reading those manuals for setup instructions, and then you simply need to start practicing. Unless you are following a course, you really just have to put your head down and do the miles in your studio.
Place your lights, make notes, and see the results. Change the light placement, make notes, and see the results.
Rinse and repeat until you have found a combination of light angles and light intensities that produce the results that you are after.
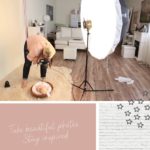
For this, we strongly suggest you practice with a baby doll rather than the real thing … babies are not very patient!
If you want to bypass some of these struggles, consider our online courses!


And…as for the answer of which images used studio light in the image above? ALL of them…except the family image.
I promise you, you will lose nothing by introducing studio lighting into the mix, but you have so.much.to.gain!