So … you want to get started with newborn photography?
You’ve fallen in love with images of sleepy newborns all curled up in squishy poses, adorned with the cutest headbands and outfits, against gorgeous blanket backgrounds or craftily posed in a bucket.
And you want in. You want to be part of providing memories of this fleeting time to parents.
We’re going to assume you have your basic camera gear (DSLR and lens), and that you know how to use it. But when you start going down the rabbit hole of props and accessories to set up your studio, it is easy to get overwhelmed with choice … not to mention realizing you could easily spend thousands of dollars before even photographing your first baby!
Don’t fall into the trap of thinking you need a million props. With just these 6 items in your arsenal, you are ready to get started with newborn photography!
1. A Posing Beanbag (or equivalent)
You need somewhere soft and safe to pose baby while you photograph them. There are beanbags made specifically for photography:
- the covers are usually made of easy to clean vinyl or faux leather
- the flat area of the top surface is bigger, giving you lots of posing space
- they are filled more than traditional beanbags, creating a firmer surface to allow for easier posing

If you’re not quite ready to commit to a posing beanbag, there are several alternatives to consider.
- A regular large beanbag, but purchase extra polystyrene beans to overstuff the bag until it is very firm
- Raised dog bed (large square cot)
- Posing table – be sure it has locking wheels and a bar that locks so there is no risk of collapse
Essentially, any soft but firm surface can be used – a bed, couch cushions, an ottoman – just look around!
If you’re using one of these DIY options, you will need to layer many blankets over top to create a soft and pliable surface that will facilitate posing.
2. A Blanket/Posing Fabric
You can use several old blankets to create a surface that is somewhat pliable to pose baby on, but you only need one nice blanket or fabric that will be your top layer.
You can find a suitable blanket to use at any department store. If you are going to start with only one blanket, neutral-coloured ones without shine – think white, cream, grey, light brown, etc. – will serve you best in terms of versatility.
You can also use about 2 yards of fabric purchased from your local fabric store. To avoid wrinkles (and editing headaches!), choose blankets with some stretch, and fabric that is a jersey knit material with 2 or 4-way stretch.
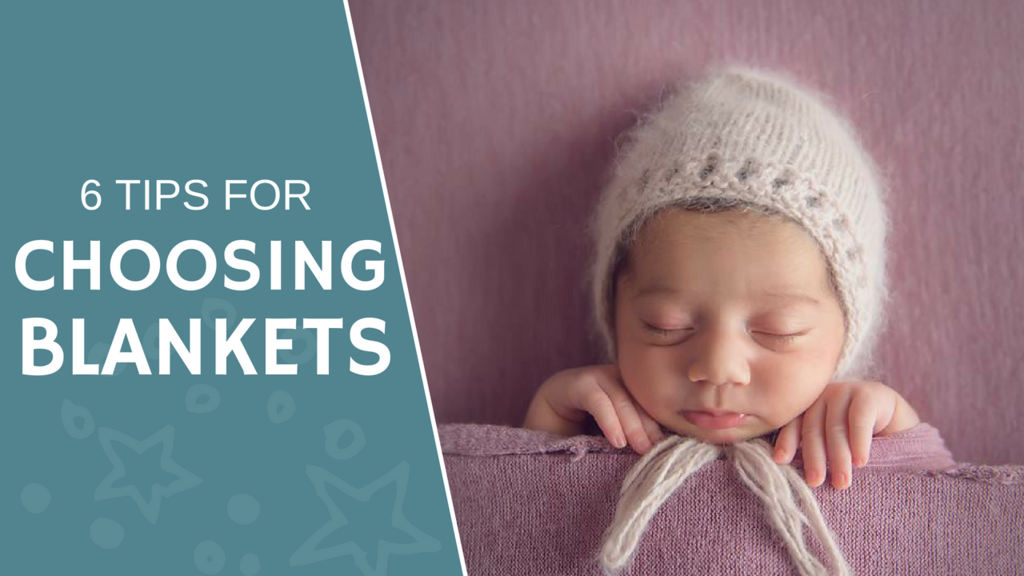 I made a video of 6 things to look for when choosing blankets for your beanbag – watch it here!
3. A Beanbag Stand
If you photograph newborns on a beanbag setup, and your blankets/fabric is just lying flat over the posing surface, you will find that your photos include lots of the background.
For this reason, it is advisable that you find a way to lift the blanket behind the baby and clamp it to something, so that the whole background (or most of it!) consists only of the blanket.
To achieve this, you can use a beanbag system that has a frame built in (like Paloma Schell), or you can set up a backdrop stand behind the beanbag.
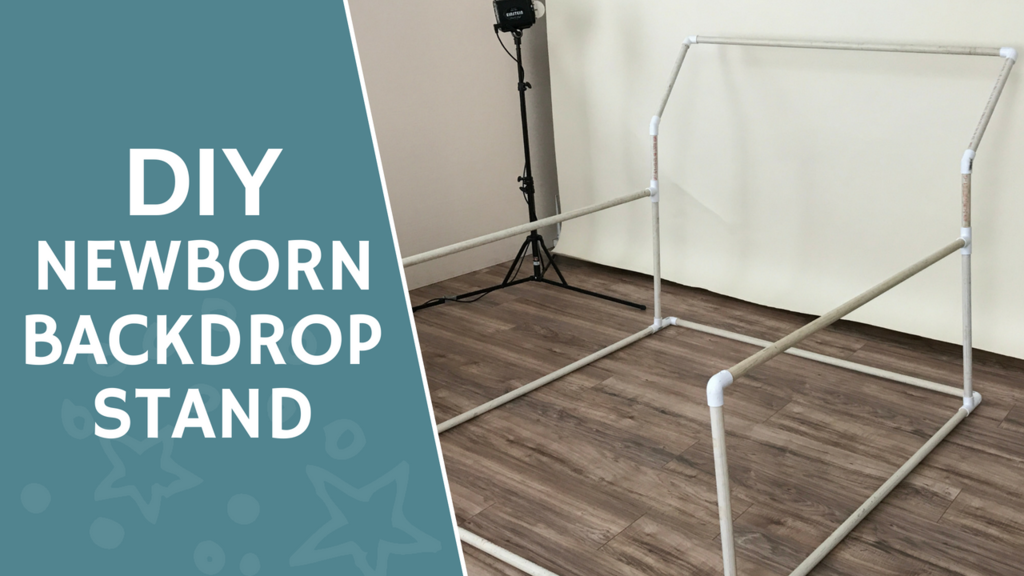
Many new newborn photographers undertake a DIY project to build their own PVC backdrop stand frames – I did and it’s an easy and cheap option! We made a video explaining exactly how to do it!
Of course, if you don’t mind the hassle, you can also simply turn a couple of chairs around, position them behind your beanbag, and clamp or drape your blankets over the chair backs (just be sure they are sturdy chairs that won’t tip!).
4. A Wrap
You already have a slew of poses you can do on a beanbag with a naked baby, but you can easily triple the number of different looks, just by using a wrap in different ways for each pose. You can wrap baby completely, or drape it loosely, or wrap just the baby’s bum – the options are endless for great variety.
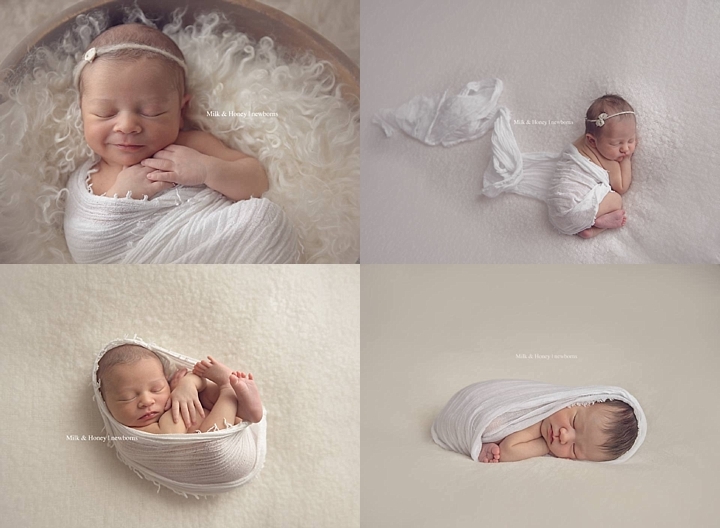
One wrap can be used in many ways for a different look each time!
Wraps come in a variety of materials, but the easiest ones to use when you are just starting out are the ones with lots of stretch to them, as it makes it easy to wrap baby up tight when needed.
Look for the same neutral colours to start. Most wraps are about 18″ wide, and about 60″ long.
BONUS TIP: If you buy 2 yards of posing fabric for your beanbag, you can easily cut 18″ off the end, and you’ll be left with a matching wrap for that fabric!
5. A Bucket/Bowl/Box
You really just need one versatile prop to start, which is why I always recommend a bucket, a bowl or a box.
Each of these can hold a newborn in different poses, and you can achieve a large variety of different looks by just changing up the accessories you use with it.
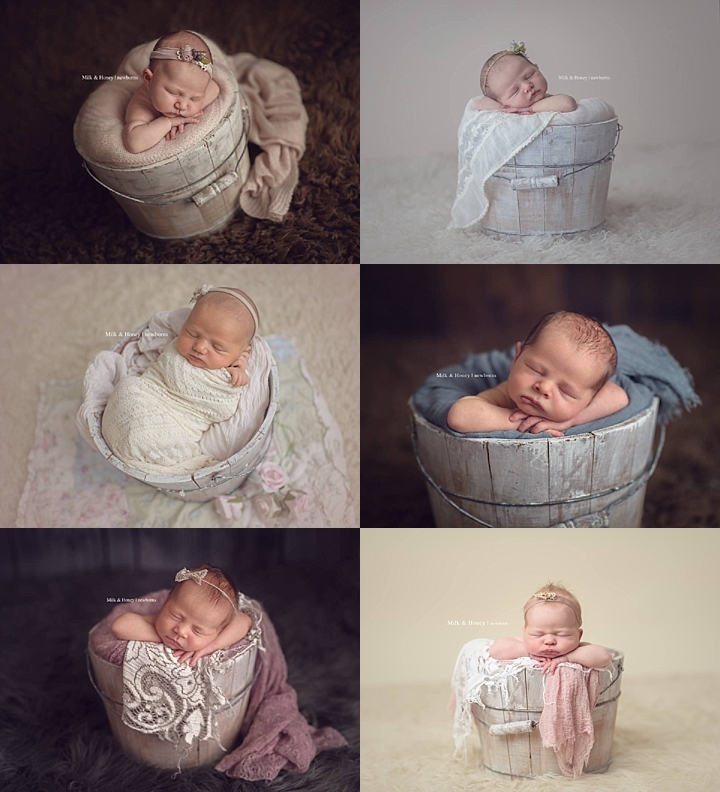 Can you tell how much I love this white-washed bucket?! I use it in almost every session, and every time the resulting image looks different.
When choosing a prop to use for newborn photography, make sure it has no dangers like sharp edges or splintered wood that could harm a baby. Also ensure that you always put a weight in the bottom of the prop when posing baby that will act as a counterweight so the prop doesn’t tip over when baby is posed in it.
BONUS TIP: The rule of thumb to size a prop is to make a fist, and if your entire forearm (hand to elbow) can fit into the prop opening, a newborn should fit too!
6. An Education
This should be the most important item on your list, and you should never attempt a newborn session without having been thoroughly educated on general newborn safety, and also exactly how to perform each pose safely.
You can NOT just see a pose on the Internet and then try to emulate it in real life with someone’s precious baby. You should be thoroughly educated in the posing steps, risk factors, and things to watch for in EVERY pose that you attempt.
One of the best ways to learn newborn photography is by attending a workshop with a photographer that you admire and respect.
There are in-person and online versions. Having a chance to get to an in-person workshop is great – but the cost of these workshops may be prohibitive to some, especially when you factor in travel and accommodation.
The other consideration is that when you are first getting started, there is a LOT to take in, so you may find you only retain 20% or less of what you learn.
Clearly we have a bias – but we think starting off with an online course is an excellent option! Not only can you get up to speed on setting up your studio space and safety considerations, but you will also get familiar with the different poses and posing techniques.
That way, if you choose to do an in-person workhop, you’ll be able to refine your work (vs trying to learn it all for the first time!)
If you are new to newborn photography, be sure to check out the Newborn Posing Workshop, where I’ll walk you through how to master the 7 foundational newborn poses, build your confidence, and start creating the newborn images you love. You can watch on your schedule (and download the videos so you can watch on the go!)

Newborn Posing Workshop – the class I wish existed when I first got started!
You might also consider joining us for our (online) Newborn Retreat!
When you decide to get started with newborn photography, it is tempting to join the roller coaster ride of prop shopping. There are very few things you NEED (but many you WANT!). Before buying any prop or accessory, ask yourself “How many different ways can I use this?”. It is a mantra that has often allowed me to sober up when I get into a shopping frenzy.
Promise me you will slow down, and only spend from the funds you’ve already made.
Making amazing newborn portraits doesn’t depend on the props you have, but rather on your skill as a photographer that comes through practice and experience. And THAT cannot be bought.