Regardless of the option you pick, you’ll need to take the following steps
1. Create a web form
Decide what information you NEED.
Remember, the more fields people need to fill out, the least likely they are to complete it. You can always gather more information (such as address, phone number, birthdates once they become clients).
Use the design editor to create your form.
Embed the form on your website and/or facebook tab
(and/or link to it from a pretty little graphic – our sample below)
2. Create a confirmation page on your website (or customize the default confirmation page)
After your client fills in the web form, they are taken to a page letting them know there is ‘one more step’to complete (which is confirming their email). Most programs have a default (confirmation page), but you also have the option of sending them to a custom web page (ie: yourdomain.com/confirm)
3. Customize your Confirmation Email
Usually these are short n’ sweet! You just want them to click on the link!
4. Create the ‘Thanks for Confirming’ webpage (or customize the one included with your service).
After your client has clicked the confirmation link, they will be taken to a webpage. Which one? That’s up to you!
We like to send them to a customized page on our website so we can then invite them to look around at other items they may find of interest!
Perhaps you want to include some recent testimonials, or samples of your work on the walls of past clients on this page so your client can start imaging what they might do with their images!
Here’s where our confirmation email goes: https://themilkyway.ca/success/
(so we can give MORE freebies and encourage some social sharing!)
5. (optional) Send a final ‘thank-you email)
At this point, it usually feels like they have received a lot of information – however, if you are sending a pricing + session guide, or some other ‘thing,’ it’s a good idea to send it in a final email so they have a record of it (vs just linking to it from the ‘thanks for confirming’ page.
So…once it’s set up and you have a list, what do you send out?
Newsletters can be short (in fact, we recommend it!). A picture is worth a thousand words. We are in the doodle + note zone
image-creation business – so it is EASY for us to ‘show’ rather than tell!
Here are some ideas to get you started…
- Highlight any special sessions/promotions you have coming up
- Showcase a new product you are carrying
- Show off a wall gallery in a client’s home
- Get your clients thinking about all the fabulous ways they can enjoy their images
- Include a client testimonial
- Offer photo tips
- Provide a ‘what to wear’ article that ties into the current season
- Include a personal story (help them get to know you!)
- Introduction to referral program
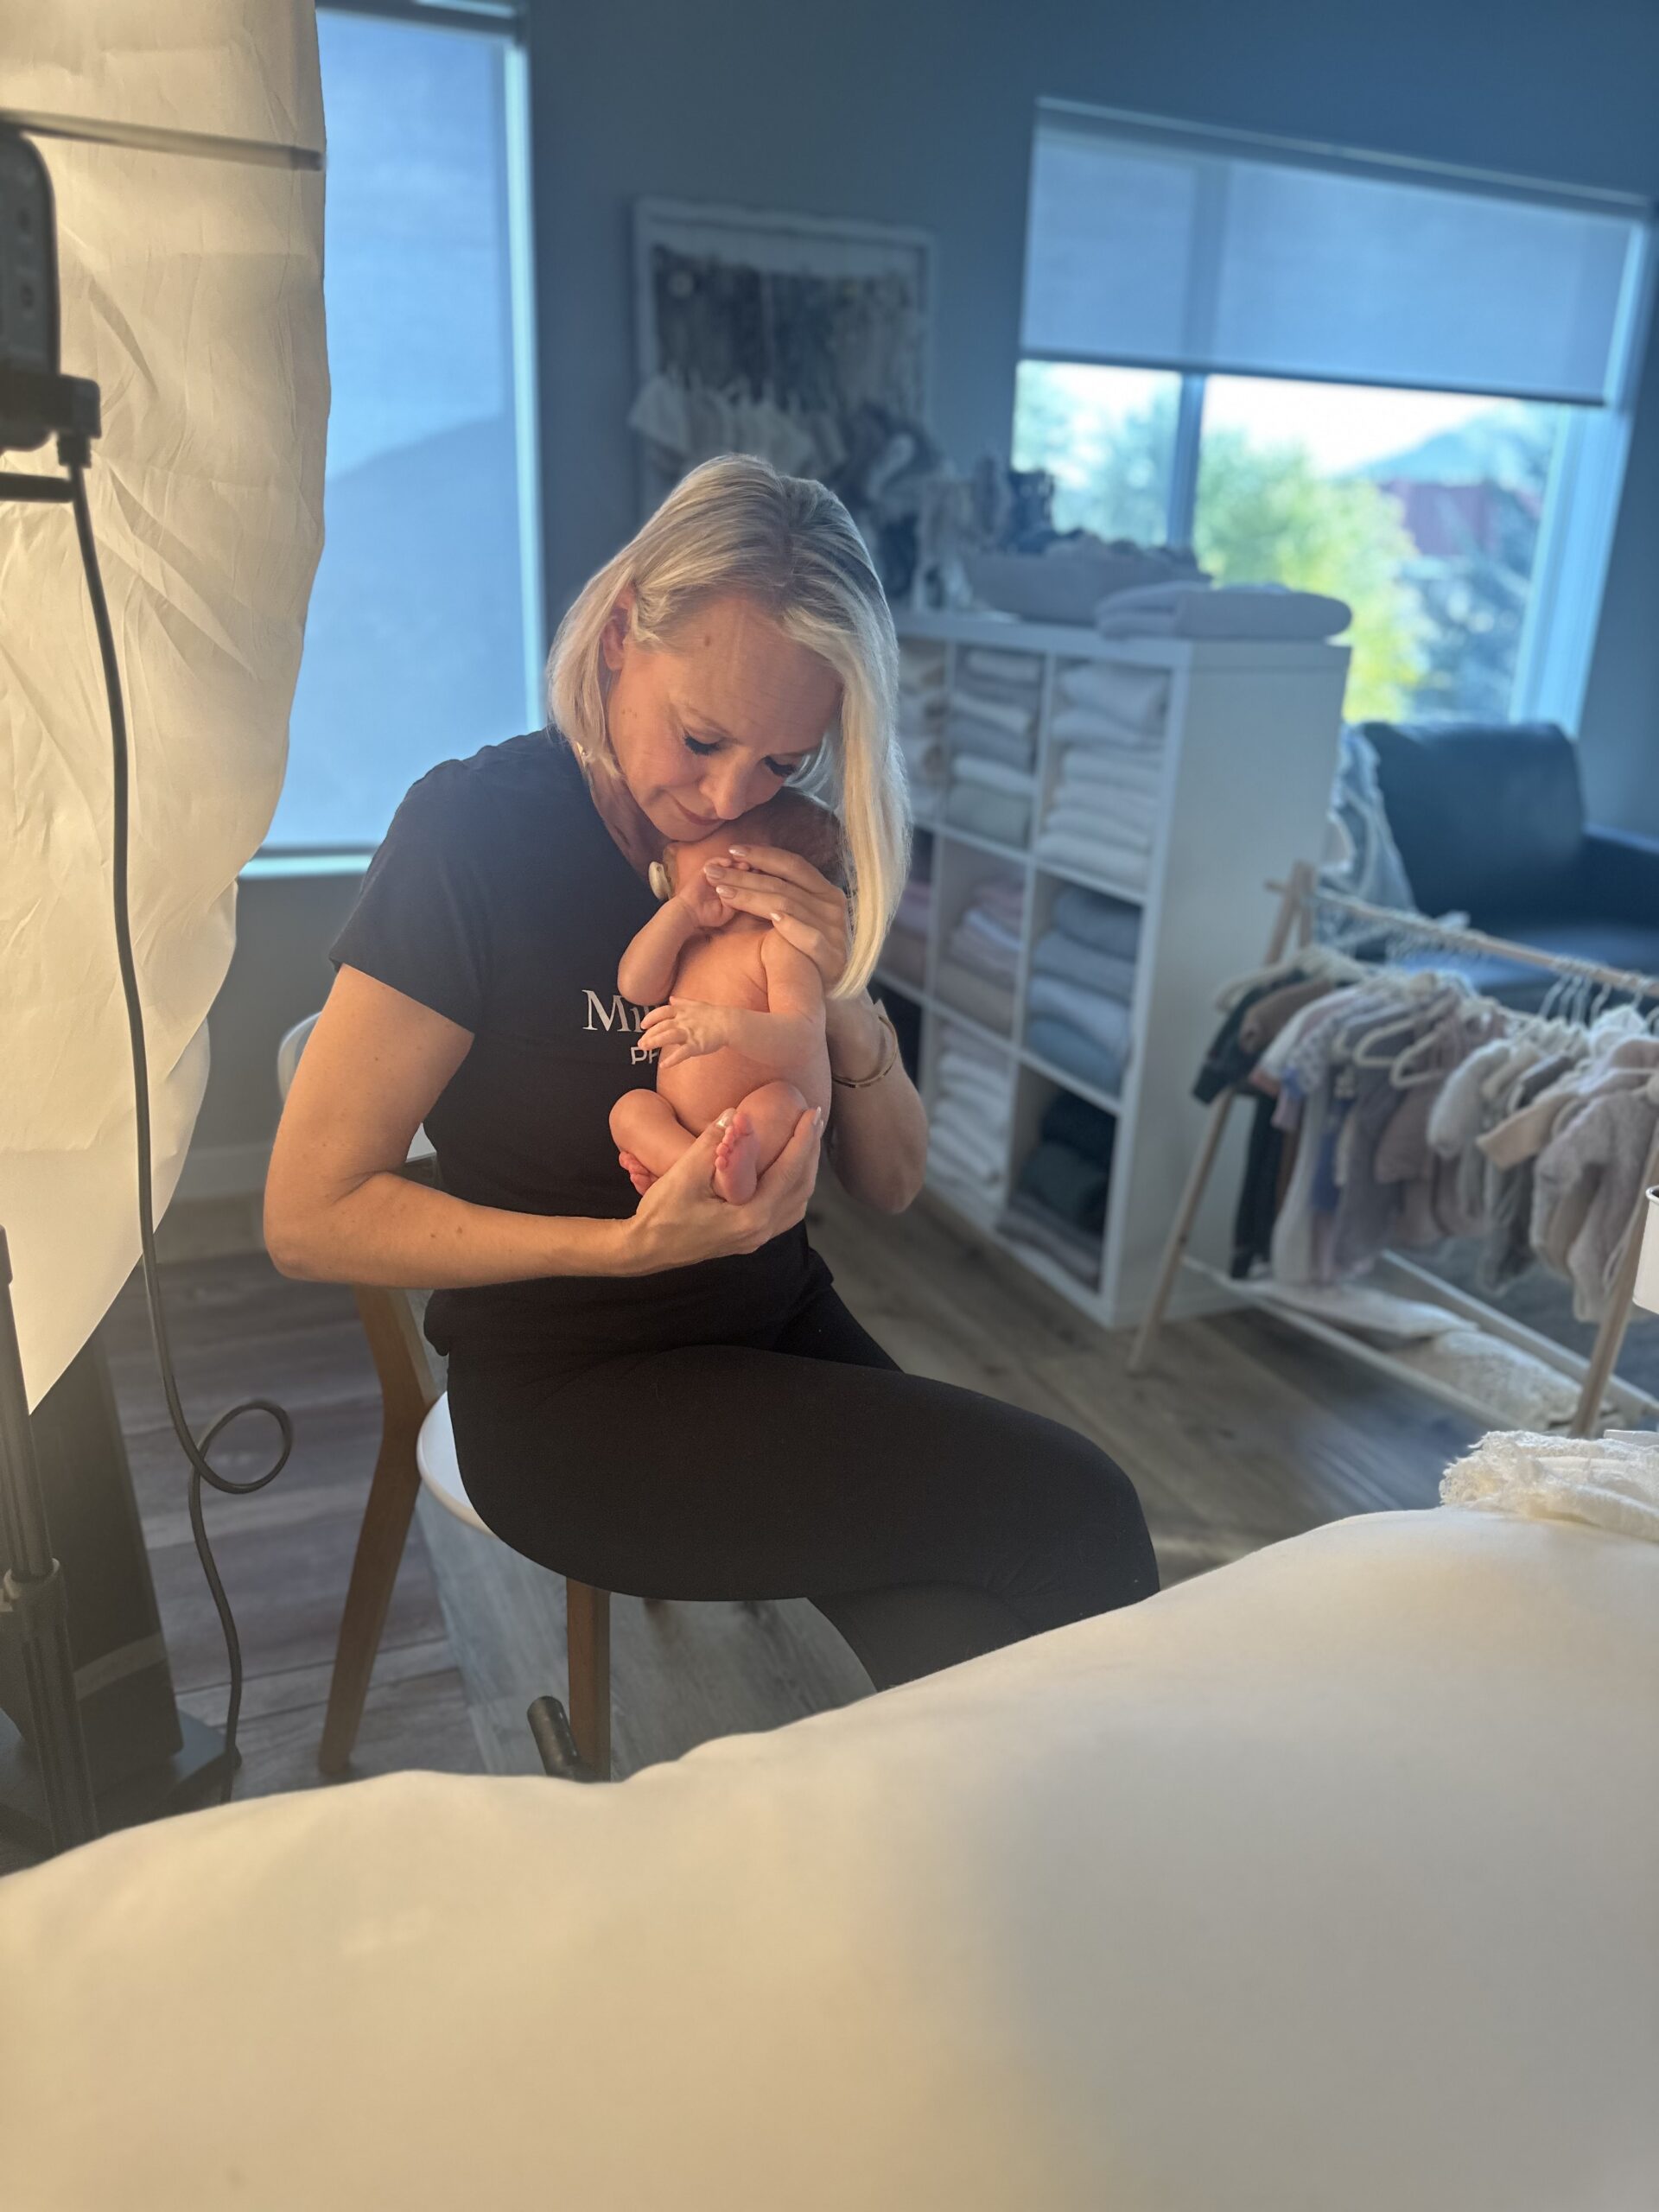
- Behind the scenes (clients love these!)
- Contests (maybe clients can upload an image of your work displayed in their house on your blog or facebook page…and one lucky person receives a print credit, or bonus gift)
Are you fun and playful? More reserved and formal? Try to keep a consistent tone to match your company’s brand.
And keep the delivery consistent. Are you emailing once a month? Every two weeks? What day of the week?
(you can play around with send dates and see if you have a better open rate on certain days).
When are your client’s checking email? During the day? After dinner? You want to send it out when people are most likely to open it (as open rates drop after the first hour of delivery)