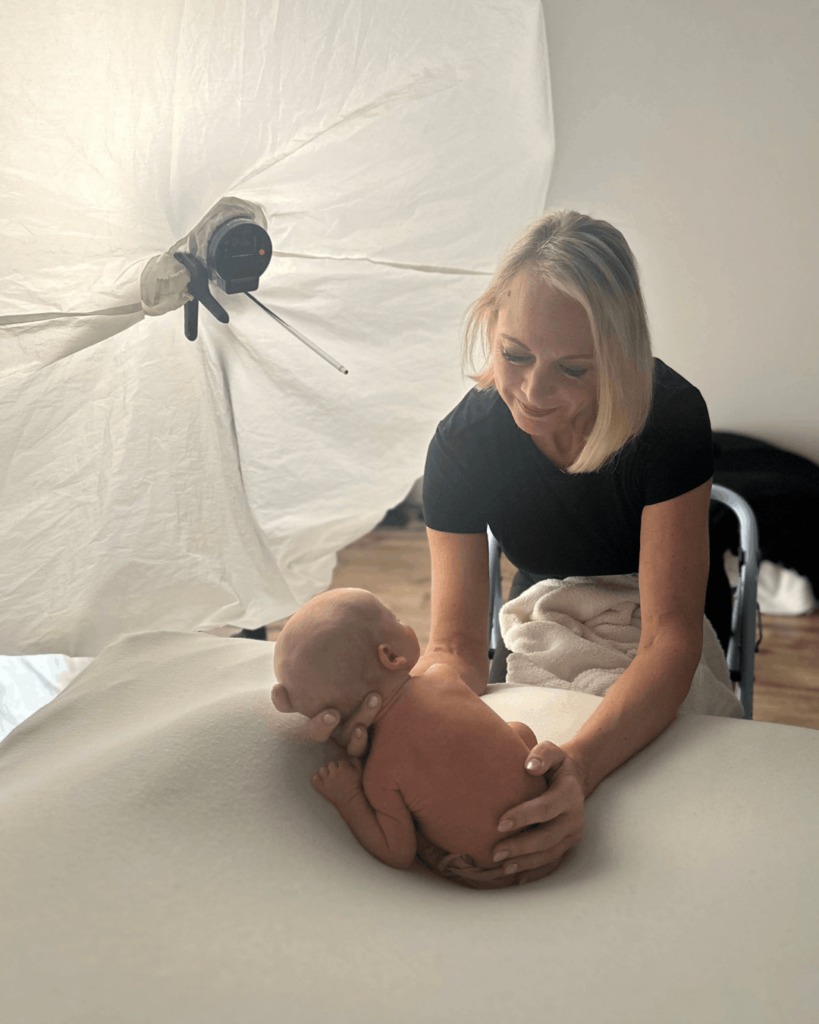
When you are first getting started with newborn photography, you may think that in order to look and feel like a professional, you need to buy all the things. I want you to know…
It’s ok to be new.
I was new once too. Before you start maxing out your credit card, let’s learn a few things.
Where to Start for Posing Inspiration
The first thing I would suggest doing is to create an album on your phone with screenshots of simple images that you like that is super simple to access in the middle of a session. Poses like the side lay, any basic wrapped image, up-close images, and some detail shots as well.
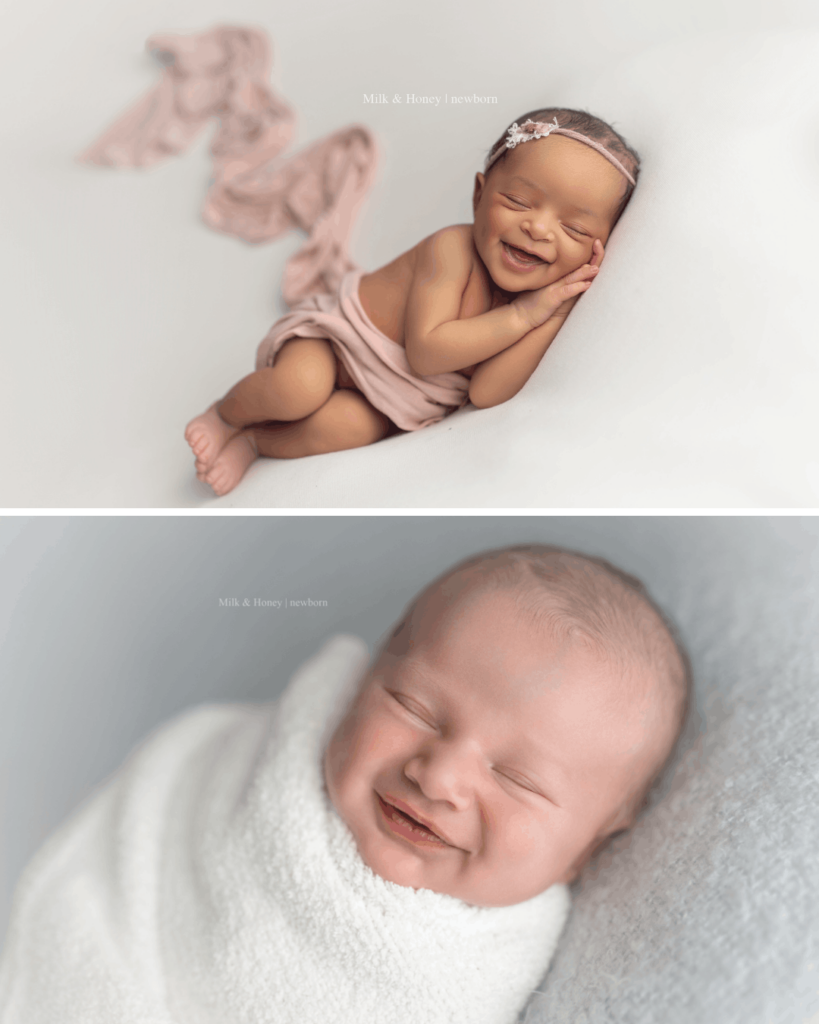
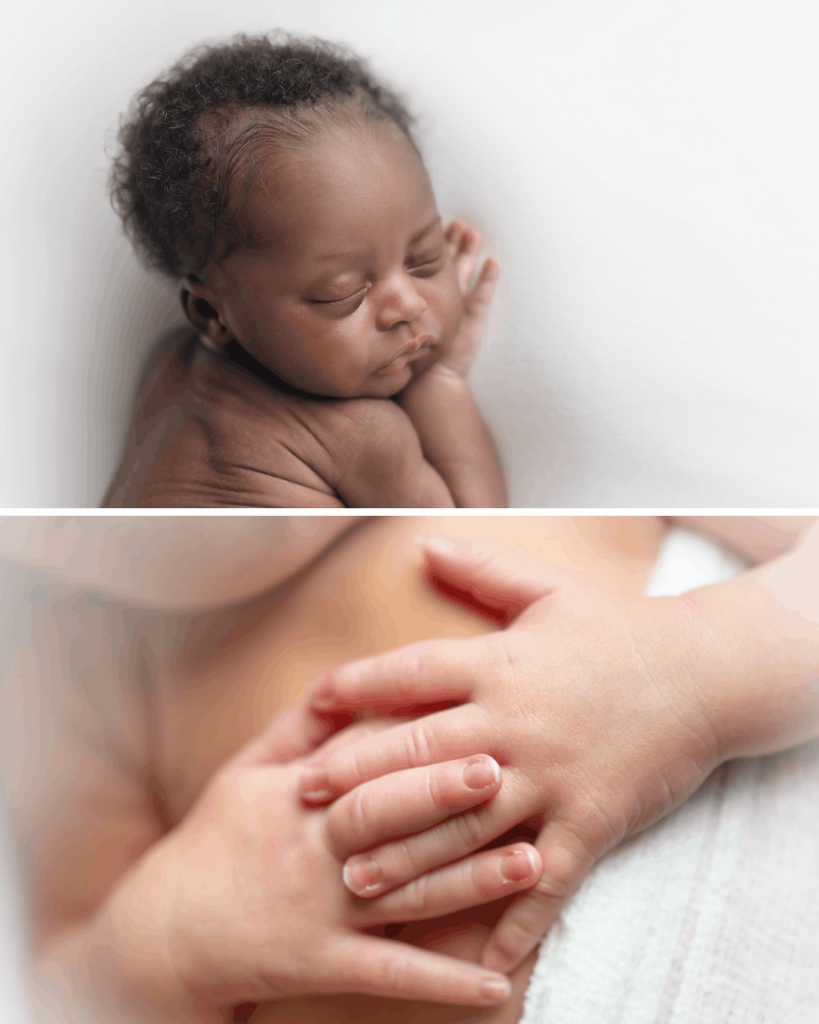
Avoid gathering inspiration from Instagram as the images featured there are harder, more advanced poses. Put these on the “future goals” list once you master safety, lighting, baby whispering, and creating the environment for success.
Why I Always Suggest Beginning with Safety Training
Safety training is the next step I recommend. More than anything, new parents want to know you are safe, and you want the calm, grounded confidence that comes with knowing exactly what to look for and what to do.
I started with zero training. I was guessing. Holding my breath. Terrified every time I picked up a baby that I was going to do something wrong.
After 1,400+ newborn sessions, I’ve seen everything — the purple fingers, the startle reflex that comes from nowhere, the prop that could have gone very wrong.
I have a very thorough Newborn Safety Course with an exam and a certificate of completion that I created around the things I desperately wish someone had handed me on day one.
“The image is NEVER more important than the child. That’s the heartbeat of everything I teach.”


Where to Place the Natural Light Source
The goal with newborn photography is to have soft, natural-looking light. You can make gorgeous newborn portraits using just a large window that lets in lots of light. You always want the baby’s head in the same direction as the window so the light is gliding down the baby’s head and not up the nose.

Learn one Basic Wrap
Every newborn photographer needs a simple newborn wrap that they can confidently do on their little clients. A good basic wrap will be your best friend. Babies feel more secure when swaddled, and you have higher chances of getting some sleeping shots too. I break down my go to beginner wrap here.
Maximizing Your Angles
Once you have a wrapped baby on the beanbag with the baby’s head in the correct direction of the light, then it’s all about maximizing your angles. Using different camera angles is a great way to maximize the number of images you can produce with just one pose, which lends great variety to the gallery you present to your newborn photography clients. This tutorial is a great way to dive deeper into this topic!
Ensure Newborn Safety by Working with a Spotter
Conducting safe newborn sessions is a non-negotiable – it is essential to the well-being of the baby and for the legal protection of your own business. In my opinion, having extra hands during a session is extremely important when working with these tiny babies. They move, they jump, they flinch, and you don’t really know when that’s going to happen. If you’ve got a baby on a beanbag or in a prop, and you’re 3 or 4 feet away, a lot can go wrong. They can tip over in the bucket, they can crawl off the beanbag and you want to make sure that you are always using the safest measures. Having an extra set of hands is what’s going to keep that baby safe.

Don’t Break the Bank (before you even know if you like photographing newborns)
Start slow. When you decide to get started with newborn photography, it is tempting to join the roller coaster ride of shopping or attempting all the poses on day one.
Promise me you will slow down, and only spend from the funds you’ve already made.
Making amazing newborn portraits doesn’t depend on the props you have, but rather on your skill as a photographer that comes through practice and experience. And THAT cannot be bought.
Frequently Asked Questions About How to Photograph a Newborn Baby: Where to Start
How do I keep the baby calm and the room warm enough?
Warm room, white noise, and patience. Newborns settle best somewhere around 78-80°F, so a space heater is worth the investment before you worry about anything else in your kit. A calm baby starts with a calm room, not a calm baby.
How do I keep the baby safe?
Training first, always. Know the startle reflex, know what a distress cue looks like, and never work alone. A spotter isn’t optional. That’s the difference between a session that goes sideways and one that doesn’t.
When is the best age to photograph a newborn?
The sweet spot is the first 5-14 days, when babies are still curling up and sleeping heavier. It’s not a hard rule though, older babies can still make beautiful images, you just work with what they give you instead of forcing the “textbook” poses.
What happens if the baby won’t sleep or fusses?
Then you pivot. Not every session is a sleepy, curled-up gallery, and that’s fine. Some of the best images come from awake, alert babies. Feed, soothe, and give the parents grace. The photo will still happen.
Want to Go Deeper on Learning How to Become a Safe Newborn Photographer?
If you’re ready to learn more and go from feeling overwhelmed and uncertain in your newborn sessions… to confidently creating galleries your clients will love, I cover all of this plus so much more in my signature course The Newborn Photography School.

(Includes the full Newborn Safety Course with exam and certificate of completion!)