Hey photographers! Are you shopping for Christmas decorations in August? Buying everything green and red in store? Sounds like you are getting ready for a holiday mini-session (or 60!).
My Holiday minis have become one of my favourite photography sessions of the year, and certainly the one that sells out the fastest. As my email list grows, I am now sold out a few hours after sending that email. I have managed to streamline the process of planning, shopping for, marketing, setting up, shooting, and editing which make these annual sessions very viable financially, while really warming my heart as I can channel my artistic style and vision into these sessions.
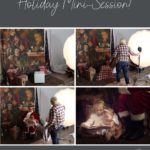
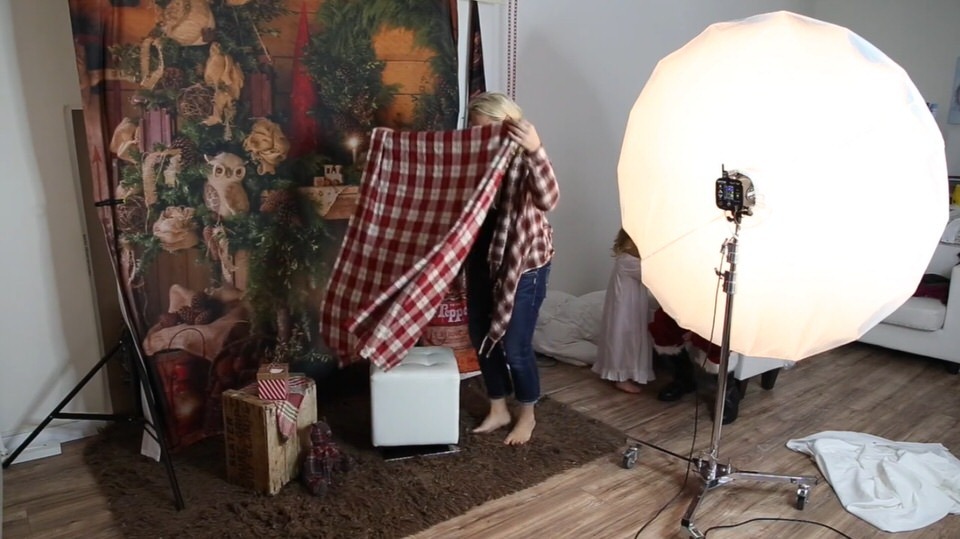
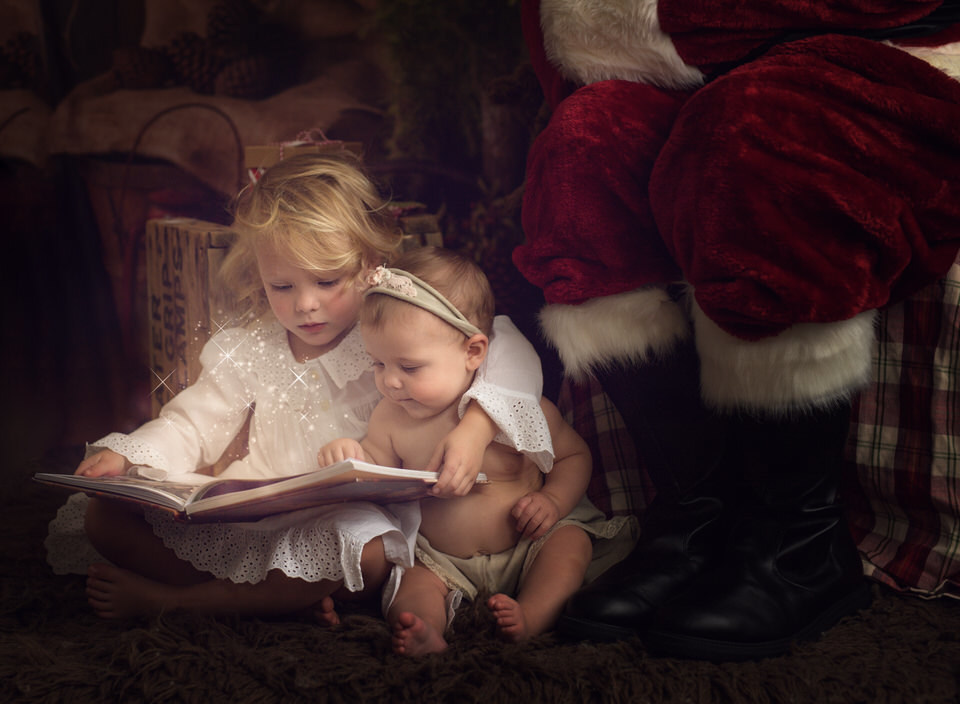
With every image from a holiday mini-session that I post, I predictably get a large number of fellow photographers wanting to know how it was achieved … the props, the lighting, the backdrop. I’m happy to share so I thought it would be helpful to take a typical image from a mini-session, and break it down for you. Including a pullback so you can see behind the scenes.
(Pssst! Need a step-by-step guide? I share my whole process in the Holiday Mini-Session Masterclass. We talk about session scheduling and marketing, client communication, session styling, lighting, shooting, and editing – everything needed for a bumper holiday season. Find out more here!)
The backdrop
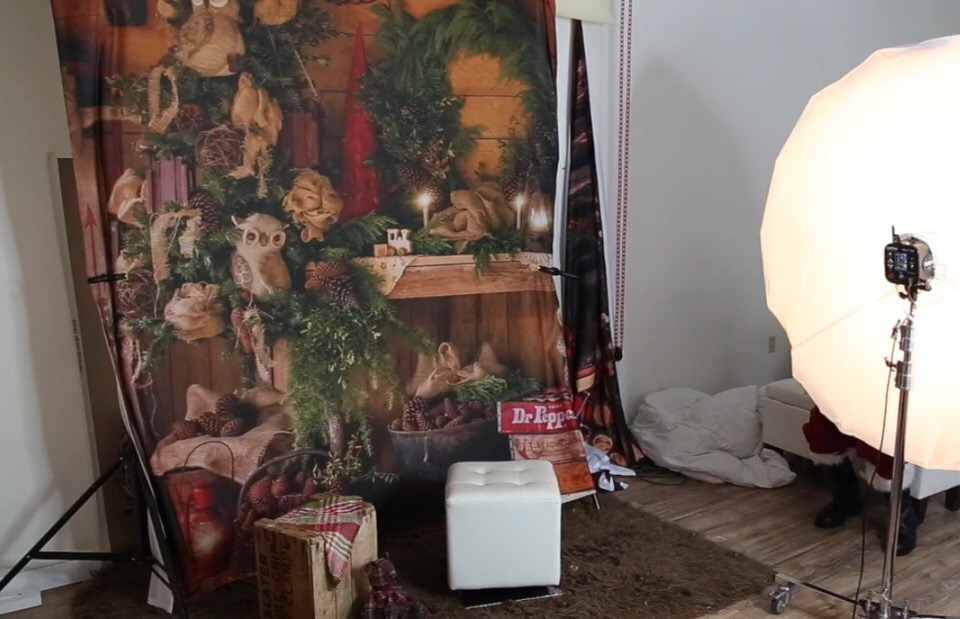
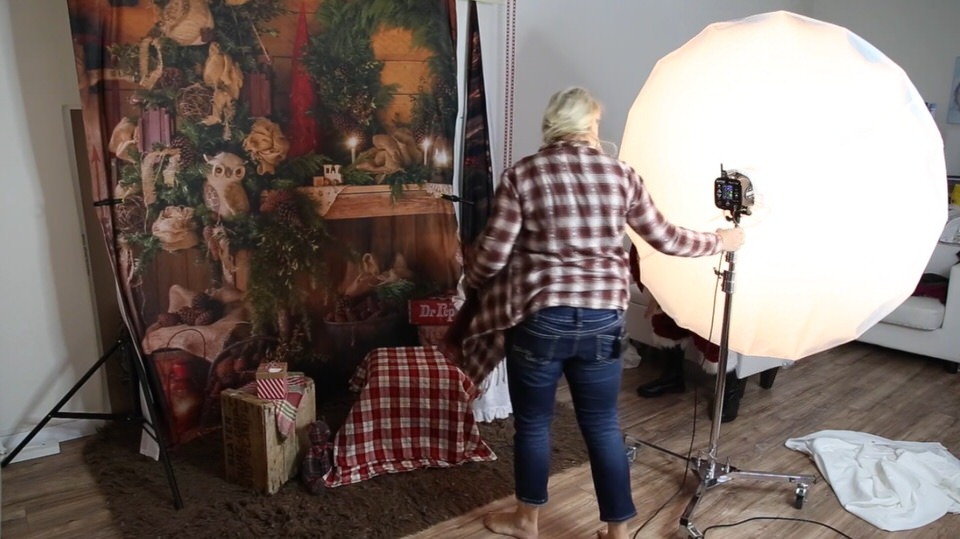
Step 1 is deciding which backdrop I’d like to use. I absolutely love the backdrops available from Baby Dream Backdrops, and I own quite a few of them! They are made of fabric, so I can just fold them up to store … with no wrinkles! Also, because it is a matte fabric, there is zero glare (which can happen with some vinyl drops when you’re using 45 degree lighting).
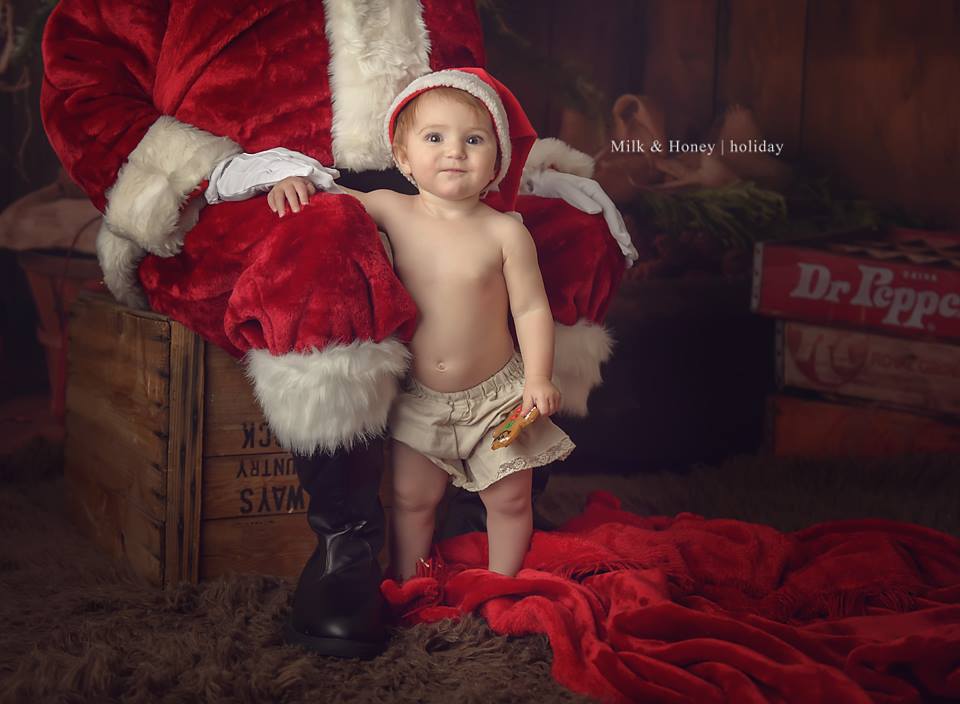
This one is called “Owl Be Home For Christmas” – it is a perfect blend of rustic and whimsical, which suits my style perfectly.
When you start out, don’t feel you have to buy ALL the backdrops. Just one (maybe two!) is enough to get you going.
The props
The next step is to style your set. I am always on the lookout for unique props to use. Bonus if it isn’t Christmas-specific, like crates or fabrics that I can use in other sessions throughout the year.
Some of the best props are dollar store finds, so don’t think that your props have to break the bank.
In this holiday mini-session, you’ll see the following props:
- Brown Flokati (5×7 size) – Rugs USA
- Fabrics are all tablecloths
- Teddy Bear – bought at second-hand store for a couple of dollars
- Crate – purchased at antique store
- Small cardboard box – dollar store
- Book “A Treasury of Christmas Classics” from Amazon
- Santa suit – from Amazon
- Santa boots – from Amazon (bought separate as ones that came with costume weren’t very nice!)
The lighting
I use my Einstein 640 strobe with the 64″ PLM from Paul Buff.
Since I want the backdrop to be darker, I feather my light at 90 degrees. (Don’t worry, we talk about lighting in the course!)
The Implied Santa
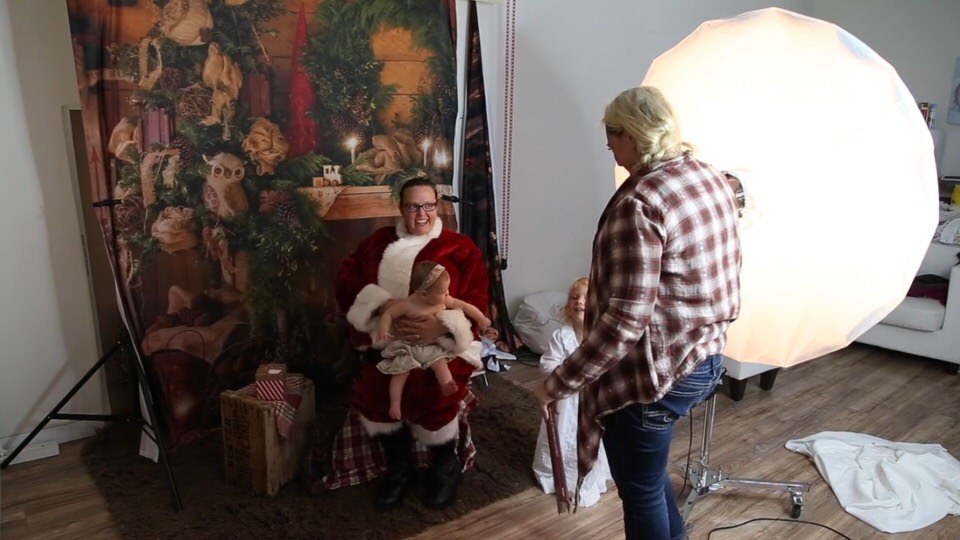
So many people want to know “Who is your Santa?”
Answer is that it isn’t a Santa … it’s one of the parents dressing up! Surprise!
Kids are much more likely to be calm and happy if their parents are in the set, in stead of a stranger, so I leverage that. Note that, in my images, Santa is “implied”, meaning that I never include the face or discerning features – you will only see part of Santa in the image that suggests he is there.
The Shoot
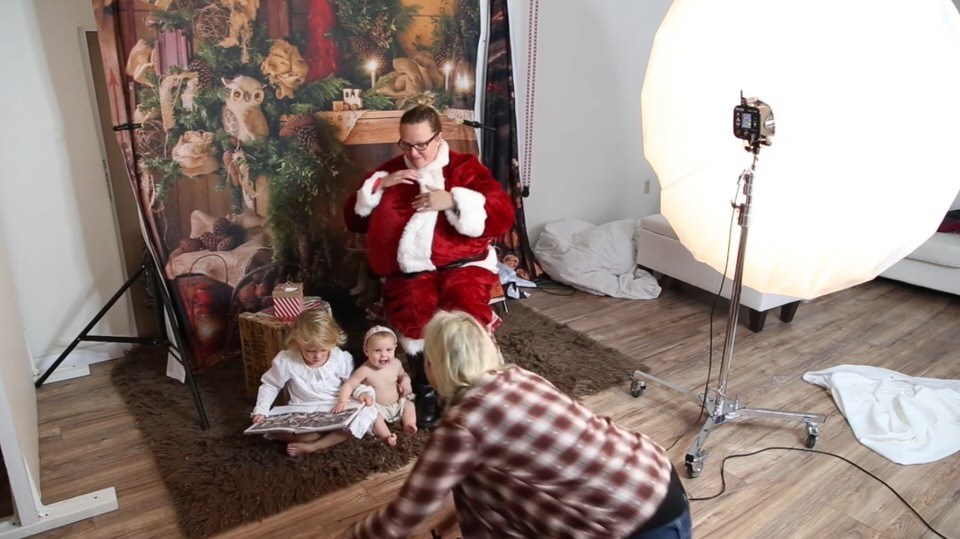
I often use my 24-70mm lens when I have more than one child, as I would be using an aperture of at least f2.8 anyway, and the lens is nice and wide to get more of the scene in if I so desire.
For single kids, I most often use my 50mm lens (sometimes the 35mm), and I shoot with a wider open aperture around f1.8.
The Editing
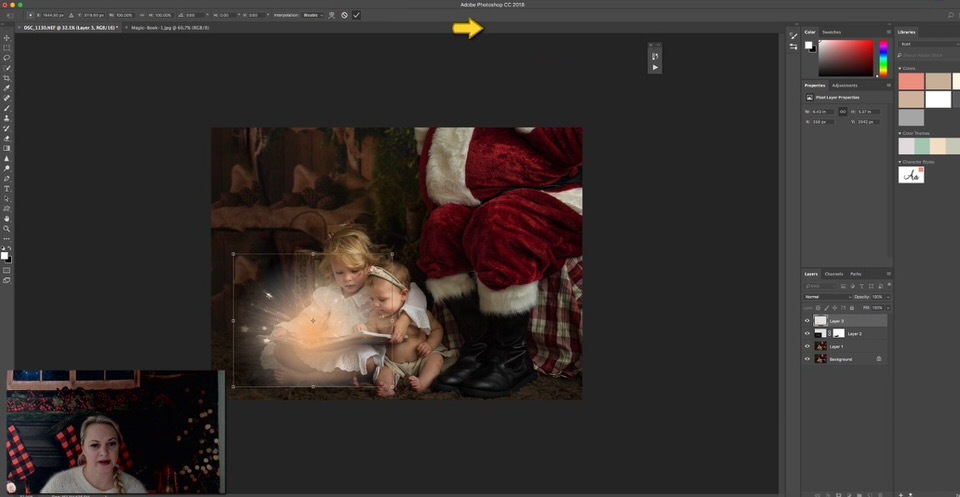
I hand-edit in Photoshop. The only major work this image required was a backdrop extension.
I then added the “magic light” in the book. I use THIS magic sparkle overlay from Creative Market. (Here’s a free alternative)
The Final Image
Want more inspiration?
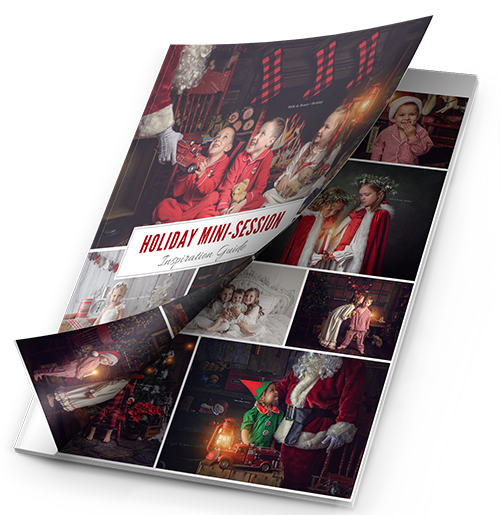
Download our Holiday Mini-Session Inspiration Guide here
It’s packed with examples that will keep your creativity levels up and running!
(And it’s 100% FREE!)