Don’t get me wrong…I love the crown creations you can buy out there! But sometimes, time is not on your side, your budget doesn’t allow it, OR, you are just having a crafty kind of day!
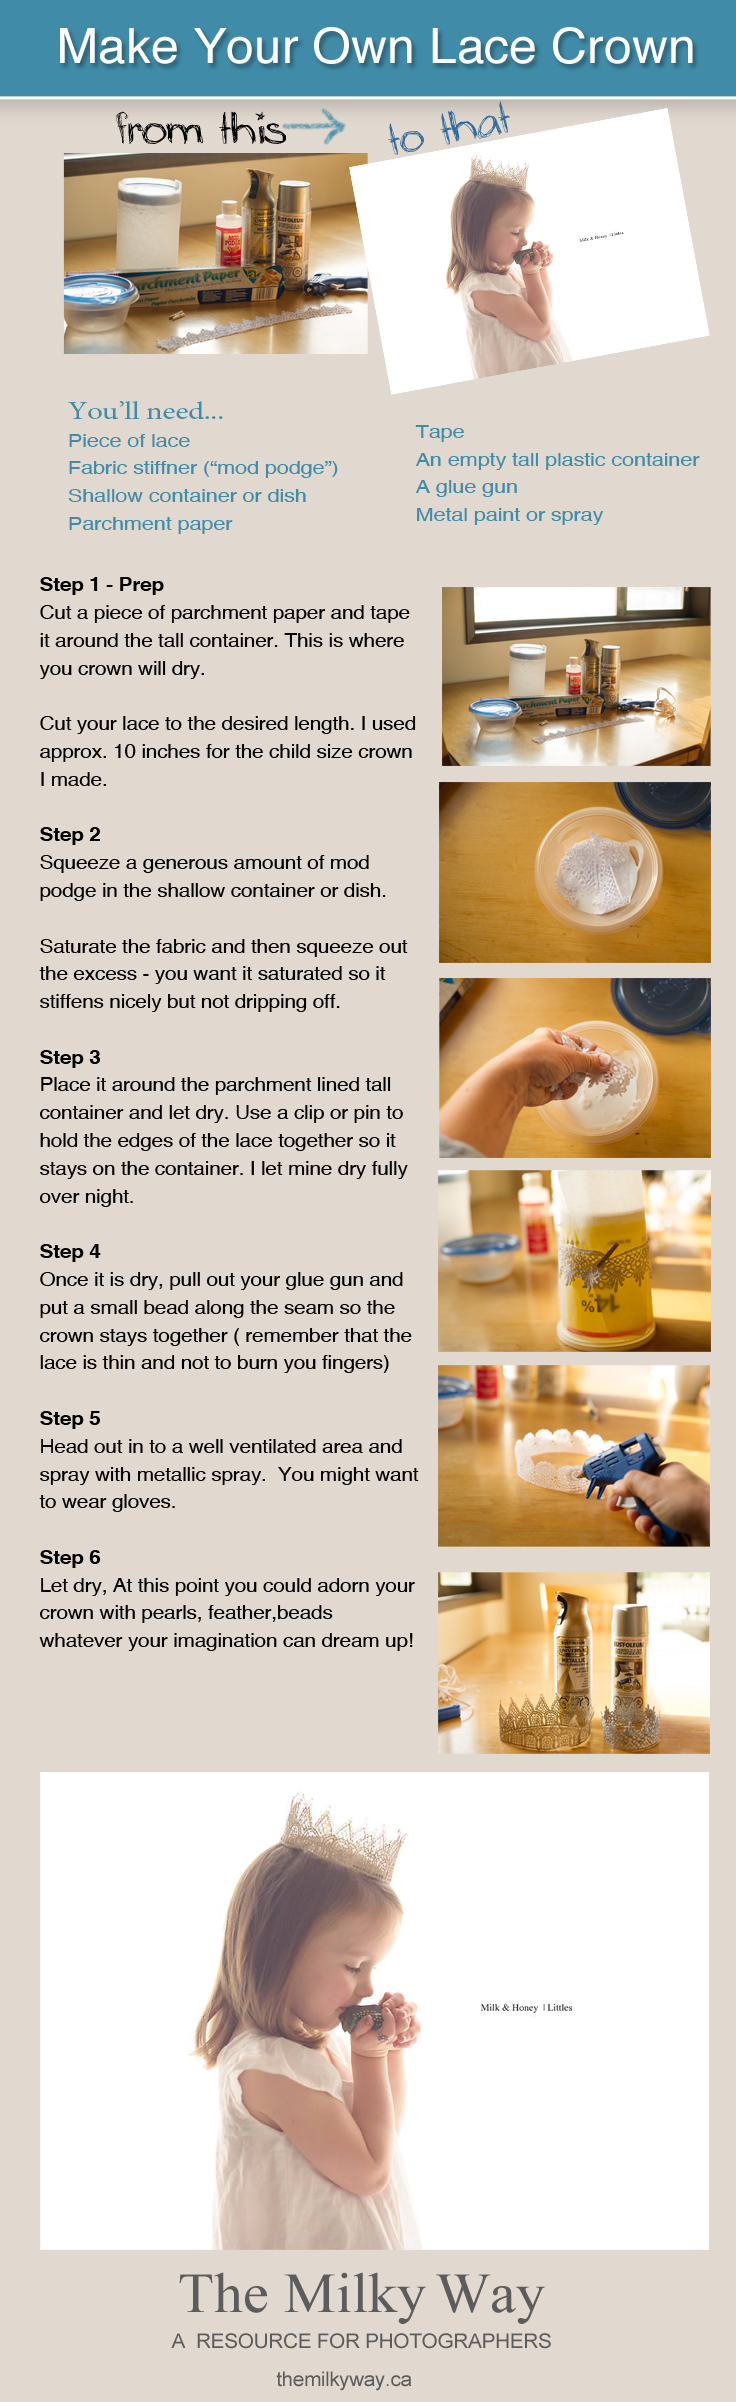
Lace crown tutorialWhat you’ll need:
- Pieces of lace ( I got mine from a local fabric store) remember you really don’t need very much to make a crown
- Fabric stiffner (I used “ mod podge” that I purchased at Michaels – craft store)
- Shallow container or dish
- Parchment paper
- Tape
- An empty tall plastic container
- A glue gun
- Metal paint or spray (gold & silver – I purchased at Home Depot)
Step 1 – PrepCut a piece of parchment paper and tape it around the tall empty container. I had an empty yogurt container on hand so that is what I used. This is where you crown will be drying,Cut your lace to the desired length. I used approx. 10 inches for the child size crown I made.Step 2
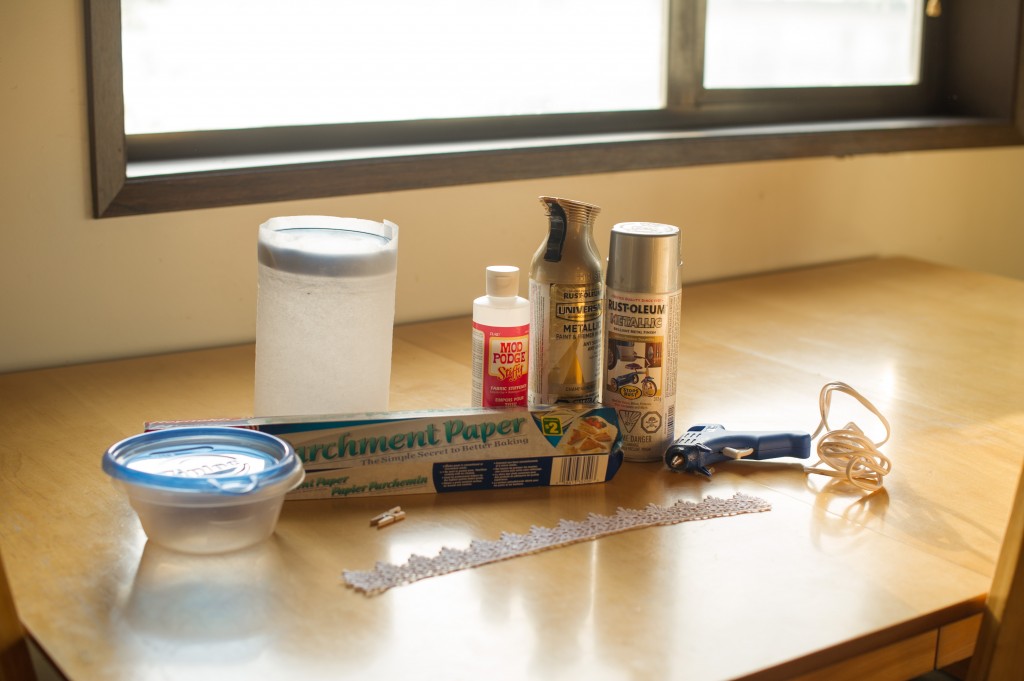
Squeeze a generous amount of mod podge in the shallow container or dish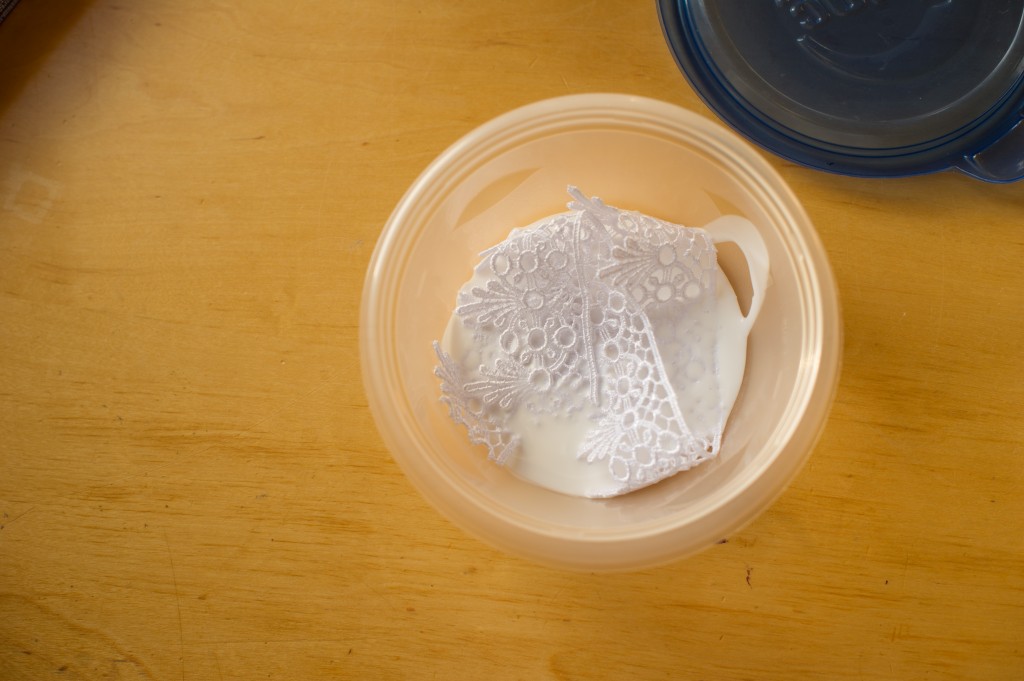 Saturate the fabric and then squeeze out the excess, you want it saturated so it stiffens nicely but not dripping off.
Step 3Place it around the parchment lined tall container and let dry. Use a clip or pin to hold the edges of the lace together so it stays on the container. I let mine dry fully over night, if you are in a hurry you could probably use a hairdryer on it to speed up the process. But I haven’t tested that yet.
Step 4Once it is dry pull out your glue gun and put a small bead along the seam so the crown stays together. 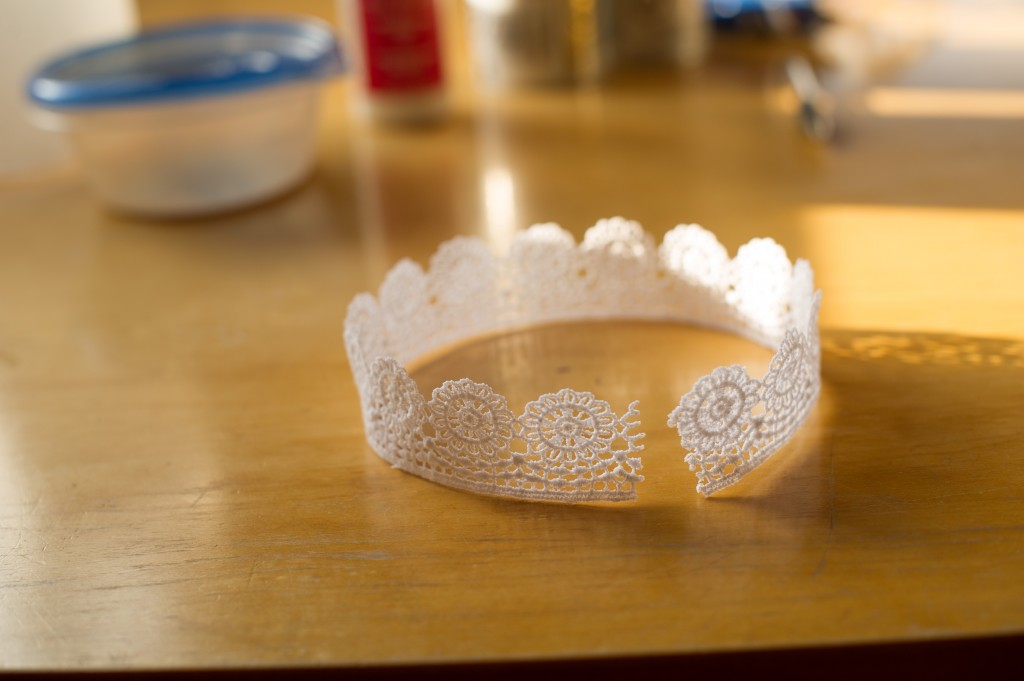 ( remember that the lace is thin and not to burn you fingers)( I burned my fingers)
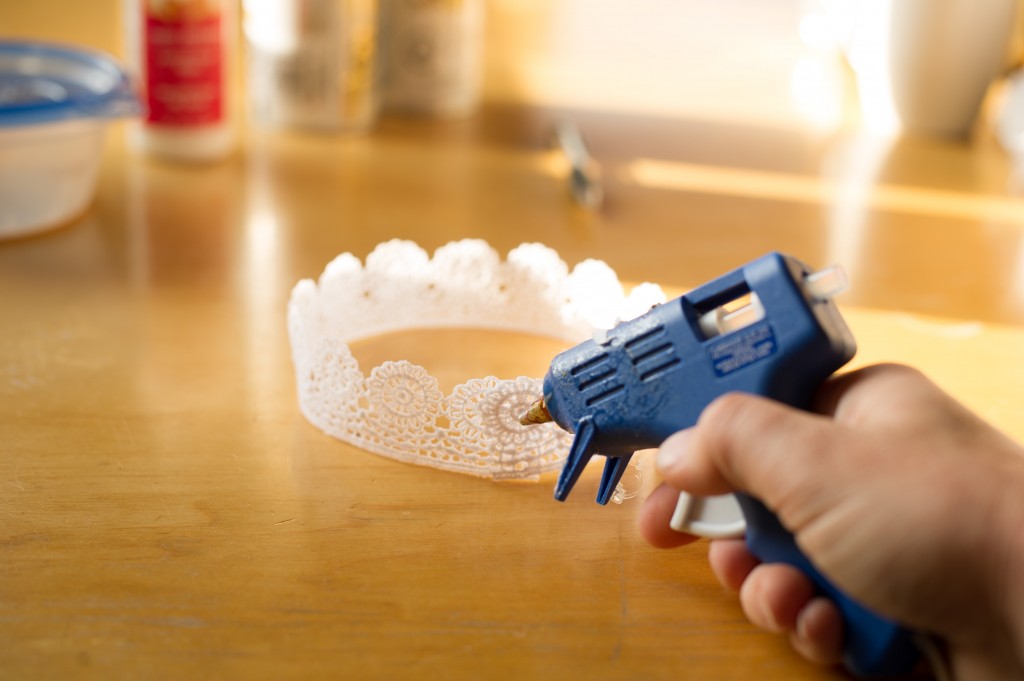
Step 5Head out in to a well ventilated area and spray with metallic spray. You might want to wear gloves, I forgot and had gold and silver hands until my husband got me paint thinner ( that was a smelly step I would have liked to avoid)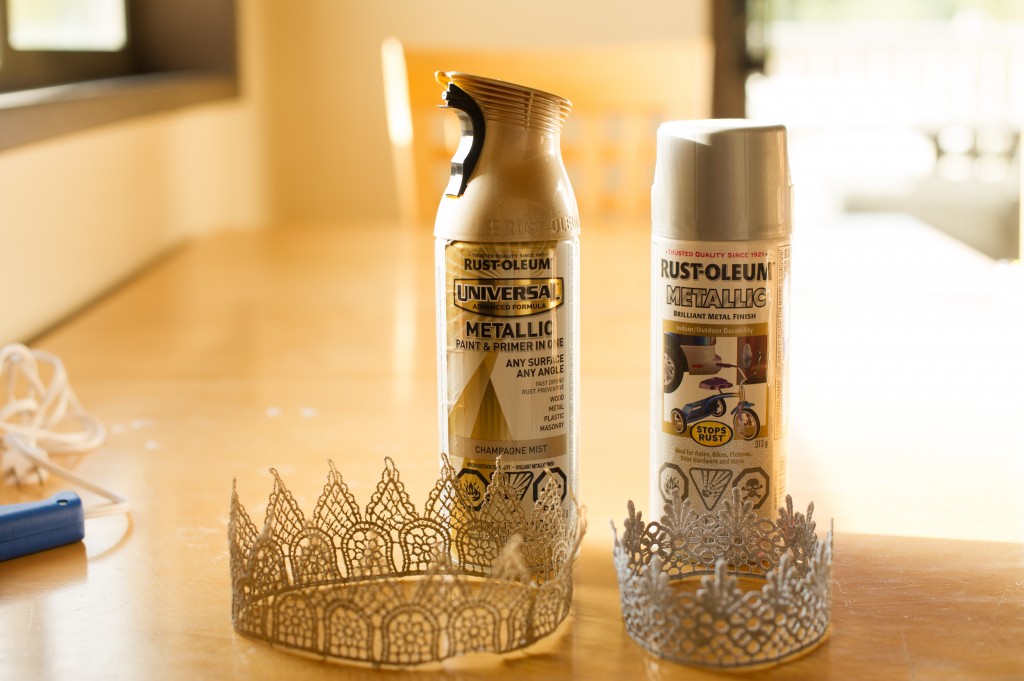
Step 6Let dry, It took mine about 5 hours to fully dry.At this point you could adorn your crown with pearls, feather,beads whatever your imagination can dream up!
Happy Creating! Would love to see what you come up with – post a sample to our facebook wall!
If you could use a weekly dose of inspiration in your mailbox, sign up for our weekly lovenotes! (…it’s FREE!)
(and if you like to ‘Pin’ – here’s a pin-friendly graphic to use!