Family Retreat Teacher HQ
Crafting Your Retreat Video

While we don't require Oprah-level quality, this is a paid experience, and we want to ensure our students receive teaching videos with quality video and clear audio.
Videos that don't follow guidelines will need to be resubmitted (...and we really want to avoid that!)
We HIGHLY encourage you to hire a videographer (most of our instructors do). We reimburse up to $500 (plus cost of mic + camera rentals if needed).
BEFORE hiring on, PLEASE send us links to their past work so we can review to ensure a consisten quality amongst all your videos.
NOTE: When choosing your models for the session, please include underrepresented and diverse body sizes, races, ethnicities, and family structures.
Please watch the video below
You'll need the password from the video above 🙂
Video Checklist
We dive into more detail on each point below - but here's a quick checklist to reference before you film (and before you submit to ensure you ticked all boxes!)
Include intro (using THIS script), lesson and wrap-up
Have videographer film in landscape (and ensure it's in-focus!)
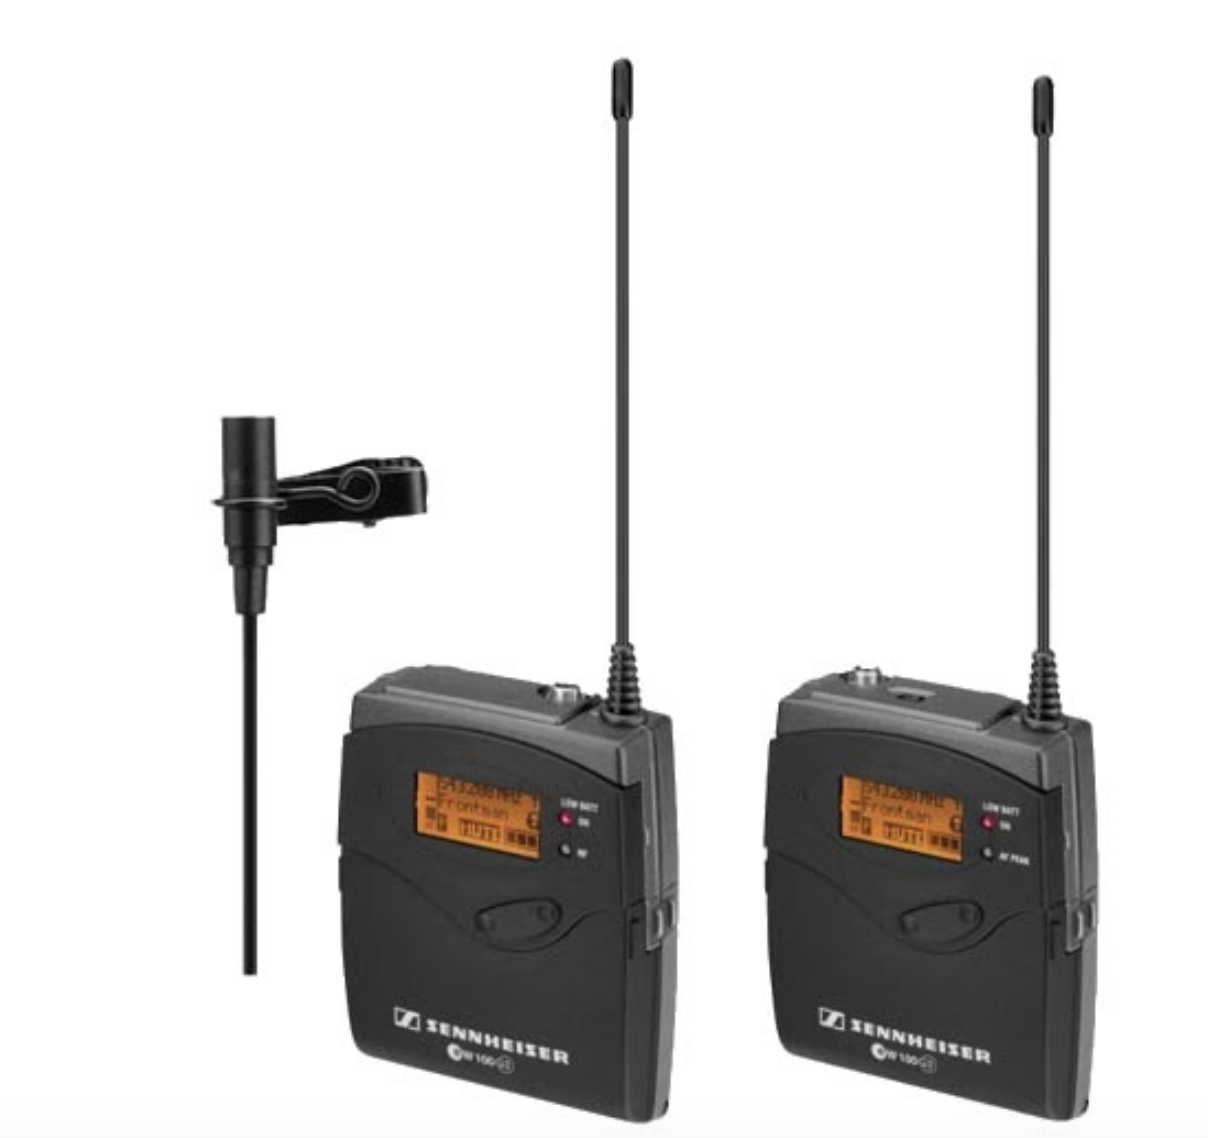
Audio with wireless lavalier mic (The built-in camera mic is NOT adequate) If showing editing, keep your voice volume level the whole time!
NO music (or logos) used in any part of video
Send your videographer the filming guidelines (this link!)
Export at 1280×720 (1920x1280 even better)
Structure of the Teaching Video
Class length: 45-75 minutes
Part 1: Introduction
Anatomy of an Intro Video Script
Having an intro video as part of your presentation is super important. This way your students know who you are and what they're going to learn in your presentation.
We also will be using this 1-2 min for your promo video .
NOTE: This is often easier to film once your behind-the-scenes portion has been filmed.Click here to make a copy of our Intro Script
NO music or animated intros/title pages, subtitles or logo please.
We'll be adding our Retreat intro with your session title + studio name so everything is consistent.
Part 2: The "Teaching Part"
This is the part where you dive into your topic.
Imagine your MOST eager student sitting right in front of you, and anticipate ALL the many, many questions they will have as you are going through your class.
(and they will have MANY!)
Try to answer as many as possible in the presentation - keeping in mind the main take-away you want the students to walk away with.
Including camera + lens used (where applicable), camera settings, light source and anything they will see in the video will save you LOTS of questions!
If a video shows you in action, please show the resulting edited images for each segment or pose.
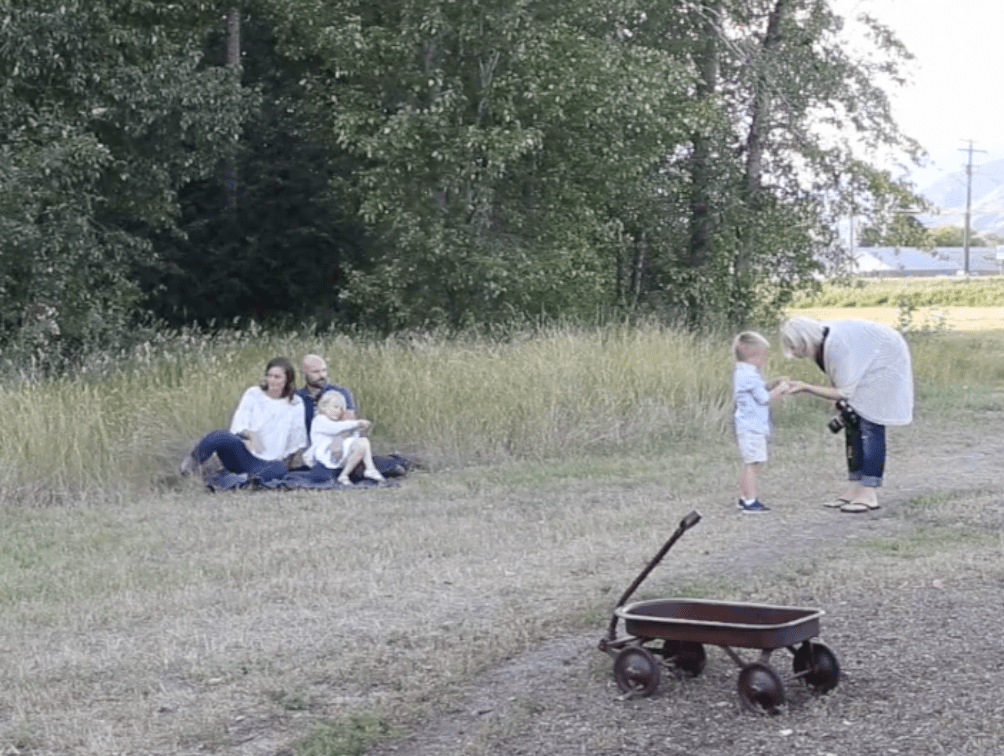
Ensure you are not standing in front of the camera during filming!
Students need to see what you are describing.
If that happens, just pause, move the camera and start talking again.
Remember it's a TEACHING video - vs a client session, so you may need to repeat things that the videographer missed.(reminder: NO music during the session please - it makes it too difficult to hear you!)
Part 3: Editing (if applicable) + Wrap Up
If you are showing an edit from your session (which students absolutely LOVE), please be sure to explain what you are doing every step of the way, what tools you are using and the settings!
It can sometimes be hard to see this on a screen share!
IMPORTANT: Remember to keep you voice volume UP and level. It can be easier to start talking softly here, but that makes it tricky for students to hear.
If you are using Presets or Actions, please mention the name (and send us the links where students can find them).
Then, you can either end with a 'wrap up' - thanks for watching.
Please do not reference other links, special offers, etc in the video. We have a place to put this on your teacher page, which ensures the videos remain timeless (because links change!).
Video Guidelines

PLEASE test your equipment and settings before filming day!


Main Issues That Lead to Re-Dos
We really, REALLY want to set you up for success and avoid having to resubmit your video.
Here are the 5 most common mistakes
- Using the on-camera microphone (this is a no-go!) Be sure to use a wireless lavalier microphone.
- Photographer's body blocks view of camera
- Music used during the session or added during editing
- Voice fading into a murmur during editing section or forgetting to share each step so it becomes a silent film
- Out-of-focus video (or too much zooming in and out which creates motion sickness!)
Videographer Tips:
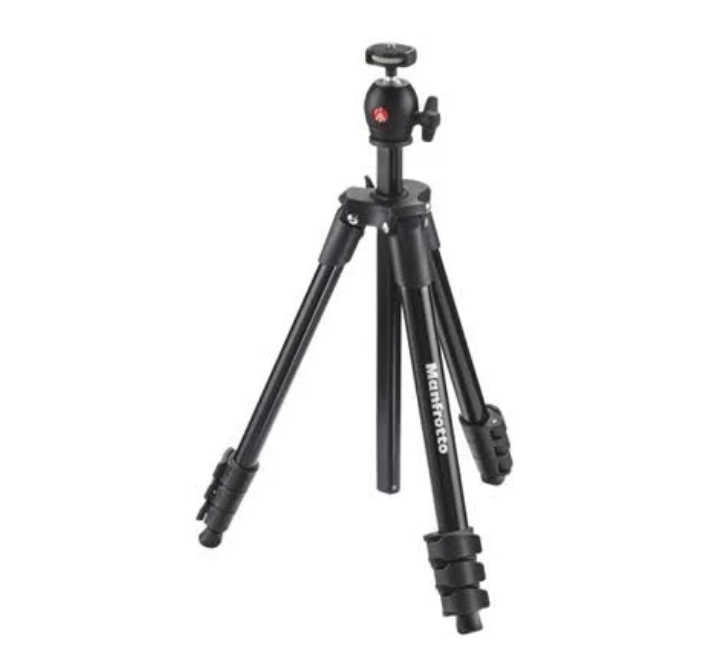
BEFORE hiring your videographer, please pass along some samples of their past work/social links etc so we can review to ensure a consistent quality amongst the videos.
We put together a special page just for them which you'll find here - https://themilkyway.ca/filming/
Send them that link so they have the info you need to have a successful submission
But if you are filming (or a colleague is helping you out, please watch video below)
Sample Videos
Shooting Demo and Editing
In home Lifestyle
ScreenShare and Shooting Demo
Beach Filming